
Roles are tasks or jobs that volunteers can be assigned to do or areas in which they might work. Roles can be set up with Qualifications to ensure that only volunteers with appropriate training can be rostered, and they can also be tagged with keywords to help identify departments or areas responsible for a role, or the types of animals the volunteer would be working with etc.
To create a volunteer Role:
- From the Welcome/Search page, click the link for VolunteerBuddy in the orange left-hand menu.
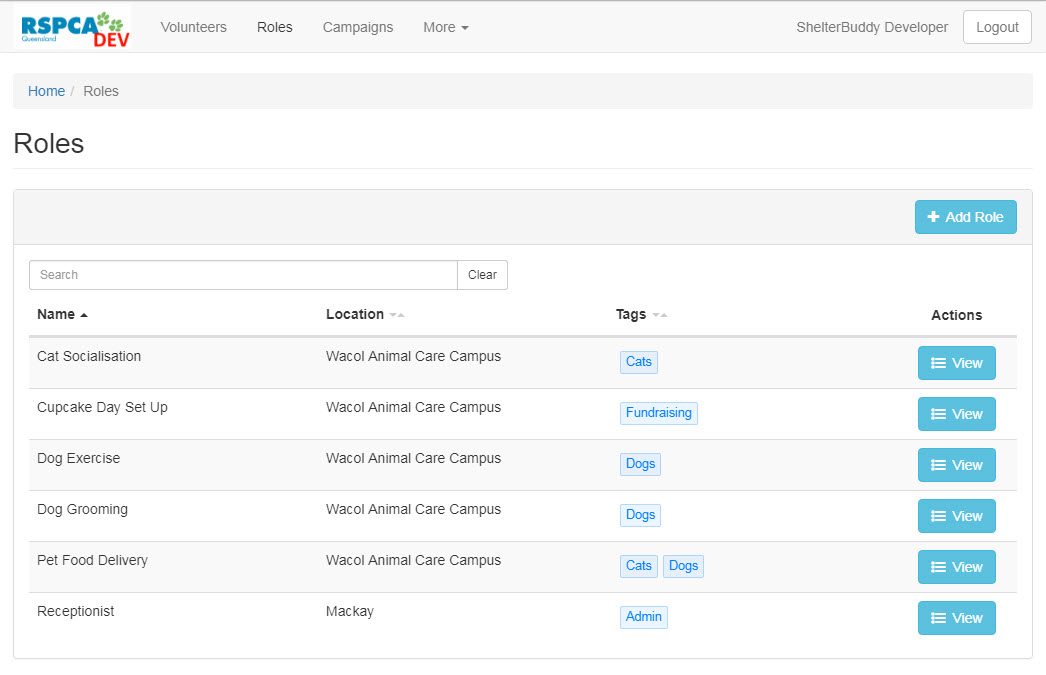
- When the VolunteerBuddy portal loads, click the link Roles in the menu options at the top right of screen to load the Roles landing page.
- Click the button +Add Role found on the right of screen.
- In the resulting modal pop-up, enter the Name of the role. This should be something that easily identifies the purpose of the role to volunteers wanting to roster themselves on.
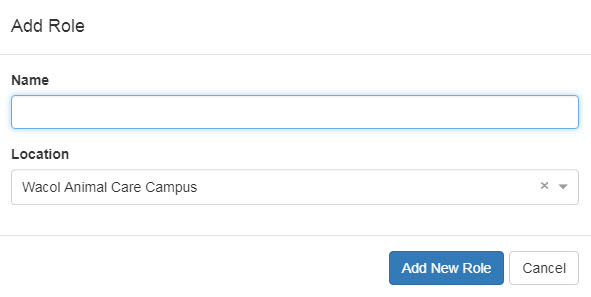
- Select the Location from the relevant drop down.
- Note: Only valid Volunteer Locations will appear in this drop down. Shelter Buddy Physical Locations/Regions won't appear here unless also set up as a valid Volunteer Location.
- Click the button Add New Role to return to the landing page.
- To add qualifications and tags, find the new Role in the list by adding a keyword in the search box or by reordering the list using the arrows next to the headings Name, Location, and Tags.
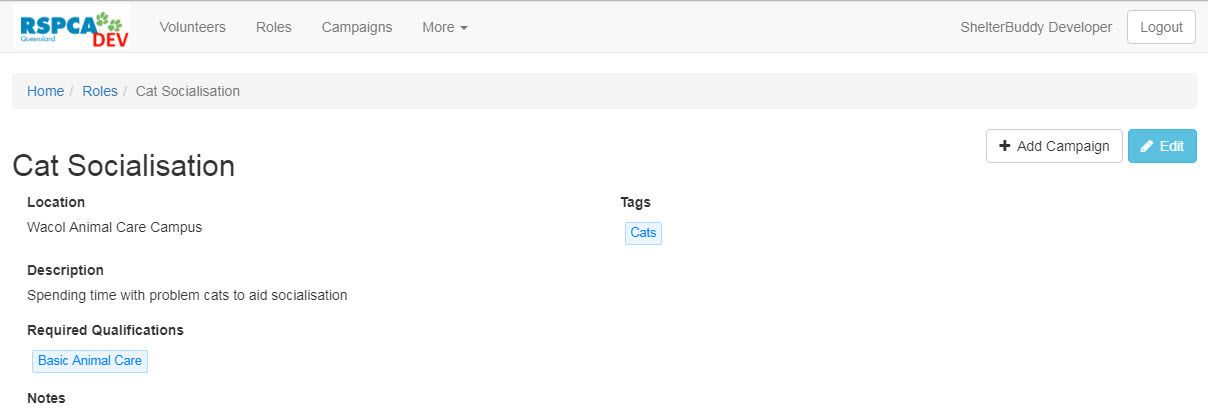
- Click the button View beside the role you wish to add qualifications to.
- The resulting page will give you an overview of the role, including the current roster and shifts that can be worked. To set qualifications, click the button Edit in the top right corner:
- On the Edit Role page, additional fields become available, including Tags, Description, Required Qualifications, and Notes.
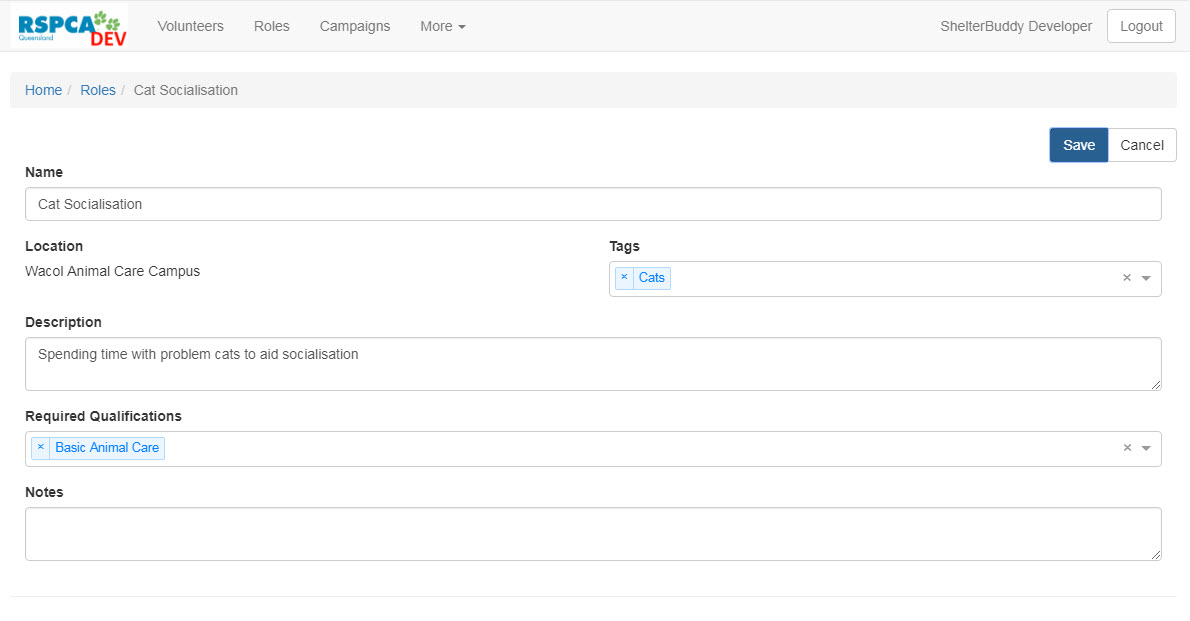
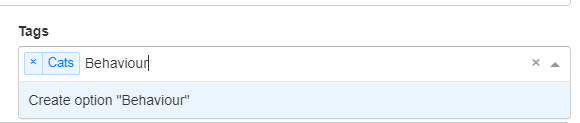
- To add Tags: place the cursor in the field marked Tags. A drop-down offering any existing tags that have not already been assigned to that field will appear. Select from this list if you wish or type in a new tag and select the option that will be offered to Create option "~", e.g.:
- To add Required Qualifications: place the cursor in the field marked Required Qualifications. A drop-down offering any existing qualifications that have not already been assigned to the field will appear:
 Select from this list by clicking on the option you require. Repeat as often as required. NOTE: Only items set up in Add Qualifications will appear here. Click the link here for more information.
 - The Description field is a free text area where you can add a description of what a volunteer would be required to do in the role.
- The Notes field is also a free text area where you may add any additional information relevant to this role.
- To add Tags: place the cursor in the field marked Tags. A drop-down offering any existing tags that have not already been assigned to that field will appear. Select from this list if you wish or type in a new tag and select the option that will be offered to Create option "~", e.g.:
- Once all information has been entered and is correct, click the Save button in the top right of screen, or click Cancel to exit without saving.
- At the bottom of the page, you can Add Alerts.These are messages your volunteer will see when they log into the portal if they are rostered for this role, or if they roster themselves for a shift.
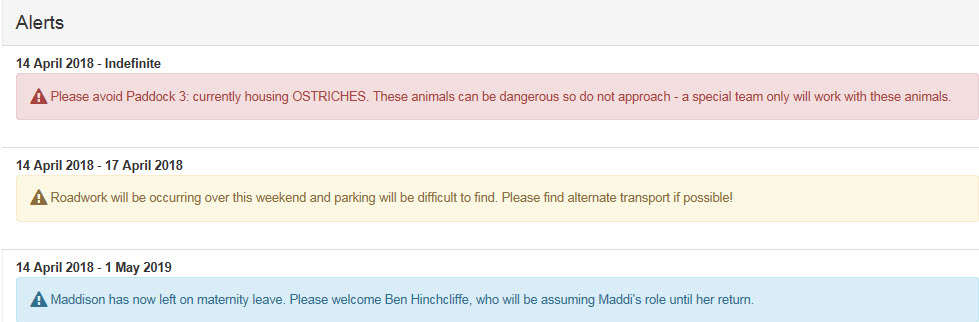
- Select an Alert Type from the drop-down. There are three to choose from:
- Danger: This option displays in red and is used to inform volunteers working this role that something dangerous is in their section during the dates selected, such as building/construction or possibly a dangerous animal that needs to be avoided for safety (which might be an aggressive dog/cat or an unusual and potentially dangerous species like Ostriches that need special training to work with)
- Warning: This option displays in yellow and is used to inform the volunteers of something important, but not dangerous, such the impending closure of a shift or known upcoming closure of parking spaces.
- Information: This option displays in blue and is used to simply share information about this role with the volunteers working it: for example to introduce a new contact person for the role or to remind them of a process that needs to happen whenever they work that role.
- Enter the Start Date - this will default to TODAY, but just click into the field to change to a different date.
- Enter the End Date if required: this is NOT a compulsory field. Just click in the box to choose a date.
- Enter Alert Text: this is the text the volunteer will see when clocking on or rostering themselves for this role.
- To add additional alerts, click the +Add Alert button at the bottom, or to remove your entry click x Delete Alert. Otherwise, simply click the Save option at the top right.
- Select an Alert Type from the drop-down. There are three to choose from:
- The alert(s) you entered will now appear against this role in their display colour.
Once a role is added, you can Add Shifts and then Roster.
Comments