
Although VolunteerBuddy is designed so volunteers can roster their own shifts, sometimes it is necessary and even preferred for Administrators to set the roster on the volunteer's behalf.
To Roster a Volunteer:
- From the Welcome/Search page, click the link for VolunteerBuddy in the orange left-hand menu.
- When the VolunteerBuddy portal loads, click the link Roles in the menu options at the top right of the screen to load the Roles landing page.
- Search for the Role you need using the Search feature - just type the beginning of the role name and it will automatically load matching results.
- Click the View Roster button. The default view will look like this:
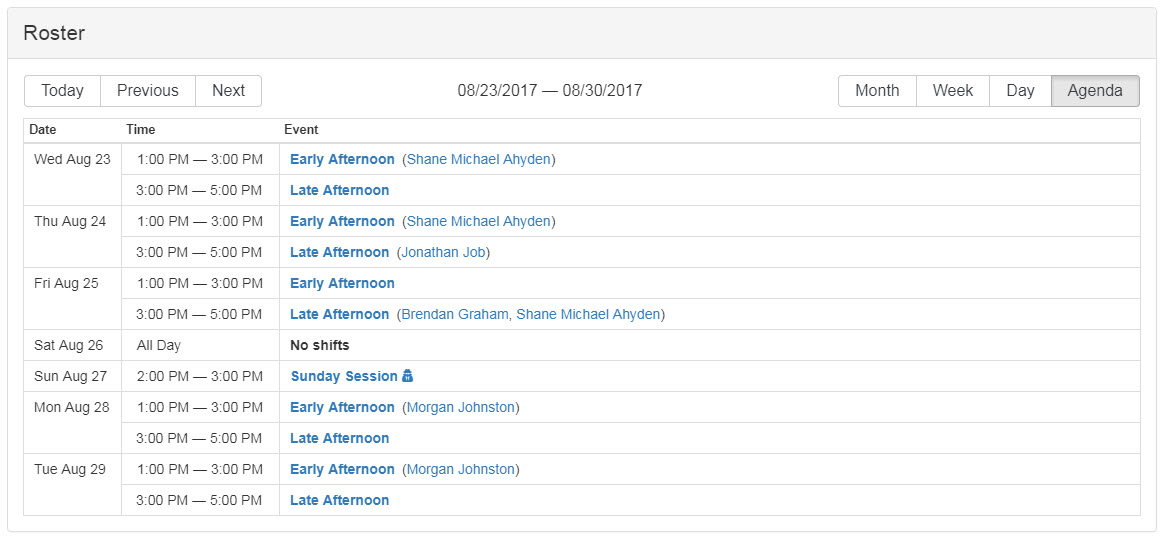
- This is the Agenda view. It shows you the date, shift times, shifts and will display in brackets any volunteers rostered for that shift.
- In the top right, you will see buttons for alternative views. This allows you to see the events for that day, week or month as you need to.
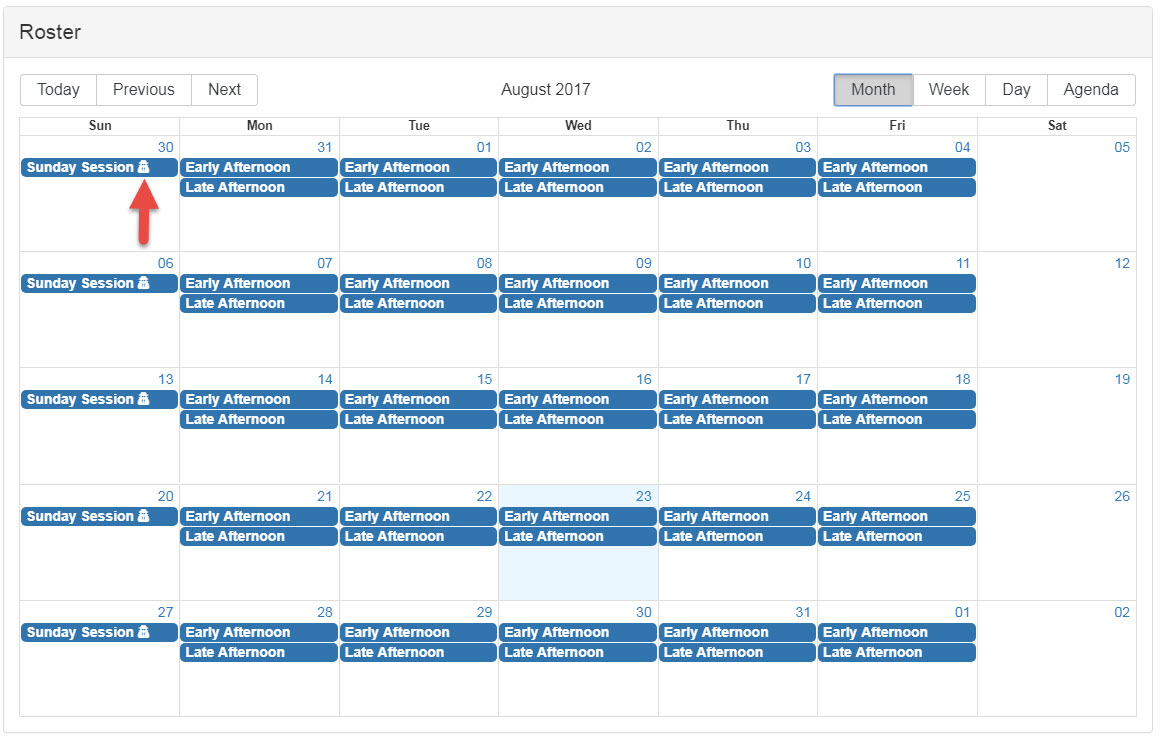
- Shifts that only Administrators can roster are indicated using the "Spy" icon indicated here on this view by month:
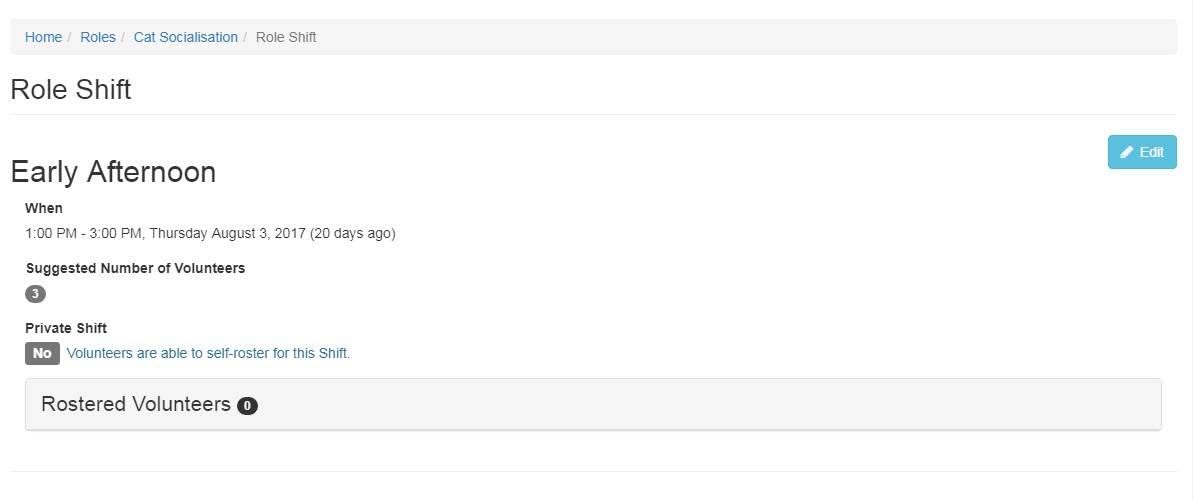
- Click on any given shift to see details, then click the Edit button in the top right:
- This will make the +Add Volunteer button appear.
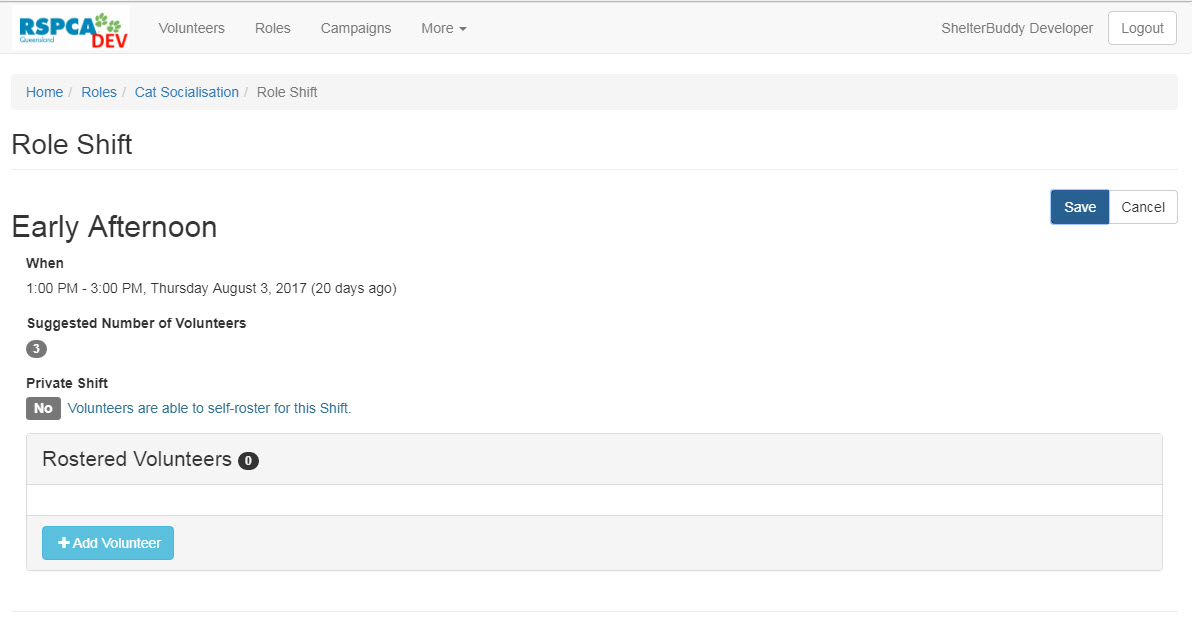
- Click the +Add Volunteer button to receive additional options. Place your cursor in the box marked Volunteer and select from the list offered.
- NOTE: only currently active volunteers that are qualified for this role will be offered in the drop down. You cannot roster a volunteer more than once on a shift.
- If the volunteer wishes to work that shift more than once, select an option from the box marked Recur and the roster will be set for them.
- Click +Add Volunteer again to add additional volunteers to the shift and repeat until all positions are filled. Rostered volunteers will appear in an active list with a counter at the top:

- If required, you can mark that a Volunteer was absent for a shift at the same time you roster them, but this option will default to No.
- Once all required volunteers are added, click the Save button at the top right to save your changes, or click Cancel to navigate away without saving.
- Your rostered volunteers will now be visible on the Role's Agenda.
Comments