
Before you can roster a volunteer to a Role, you need to demarcate what days and times the role is available.
- From the Welcome/Search page, click the link for VolunteerBuddy in the orange left-hand menu.
When the VolunteerBuddy portal loads, click the link Roles in the menu options at the top right of the screen to load the Roles landing page. - From the Roles landing page, click the View Roster button against the role you wish to set shift times for.
- Scroll down to the Shifts section at the bottom of the page. Initially, it will be blank.
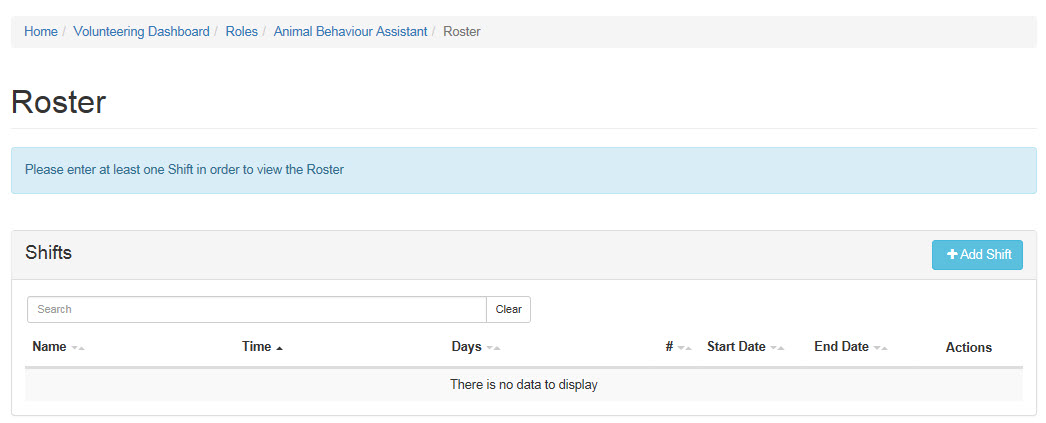
- Click the +Add Shift button in the right corner
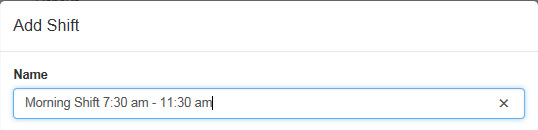
- In the resulting modal pop-up, enter the Name of the shift in the relevant text box. This should be something identifying for volunteers, so they can self-roster easily.
- Beneath the Name box, there are two text boxes marked Start Time and End Time. Place your cursor in the first box and a list will appear.
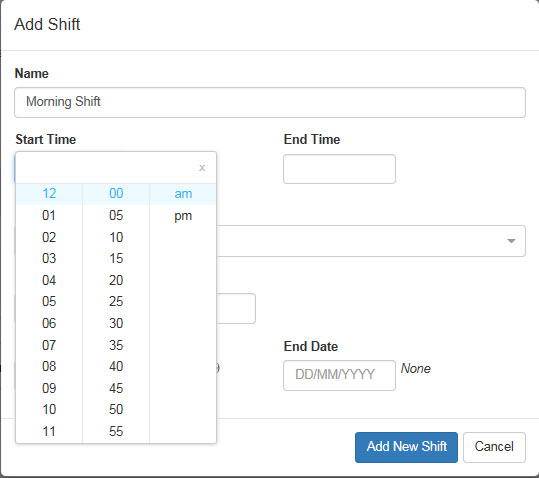
- The first column represents the hour, the second column minutes. Simply click on the numbers to add a time in the box above, and when the time is set correctly click out of the box to set it.
- Repeat in the End Time box.
- Click into the box marked Days to see a dropdown. Click on every day the shift is available (as many or few as required, but it will only let you add each day once). Click out of the box once the list is complete.
- In the Suggested Number of Volunteers box, enter the number of volunteers you would like to have for the role.
- NOTE: The role will only be offered to volunteers for self-rostering until this number has been reached, however, Administrators can add additional volunteers over and above this number if they wish.
- Private Shift*: These buttons set whether or not Volunteers are able to self-roster for the shift. The option will default to Yes, meaning they cannot self-roster. The shift will not be visible to volunteers via their VolunteerBuddy portal; and only Administrators will be able to roster for these shifts. If the option is set to No, it means the volunteer can self-roster as they wish.

These shifts are marked with the icon visible in the screenshot above.
*NB: this is only available for sites with the custom option for self-rostering enabled. If it is not enabled, this feature will be permanently set at "Yes" and not be able to be changed. - The Start Date will default to today (i.e. the day it was created), however, you can if you wish manually amend this by clicking in the date box and selecting an alternative start date from the calendar feature.
- The End Date is not mandatory and can be left blank if the shift is ongoing. However, if the shift is only to be offered temporarily, you can set an end date, after which volunteers will no longer be able to roster themselves for this shift.
- Once all the above fields have been completed, click the Add New Shift button to save your changes and make the shift available.
- Shifts will now be visible at the bottom of the Role page:
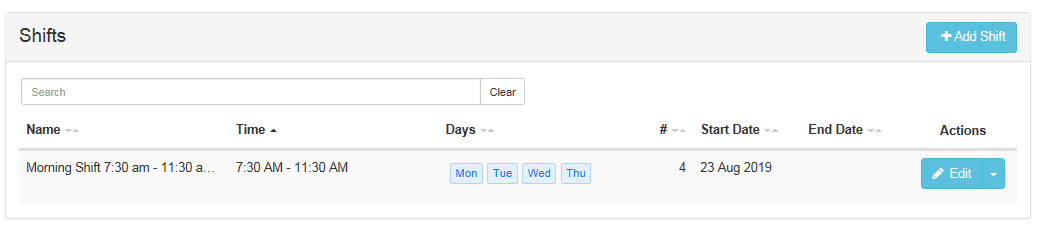
- Click Edit at the end of the shift row to make changes to any of the above details.
Comments