
Qualifications can be used to ensure that only volunteers that have had the correct training are able to be rostered for specific roles. Qualifications can be set to have an expiry date - meaning they need to be renewed and will show as expired once the designated time allocated has elapsed - or they can be indefinite, meaning that once trained or qualified, that qualification remains with the volunteer for their entire career with your organisation.
To Create Qualifications:
- From the Welcome/Search page, click the link for VolunteerBuddy in the orange left-hand menu.
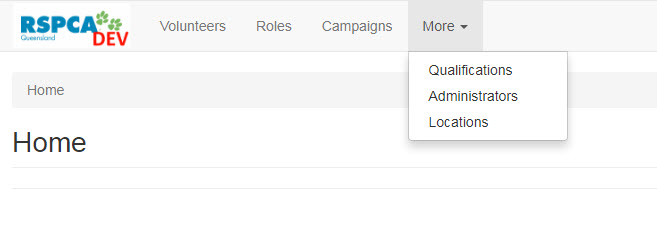
- From VolunteerBuddy's Welcome page, click the down arrow against the heading More in the upper right of the screen and from the drop-down that appears, click on the option Qualifications.
- The Qualifications landing page will load:

- Click the button +Add Qualification to create a new item.
- In the modal that appears, enter the Name of the qualification (something that will help identify it to users) and a Description of qualification, if required. The Description can expand on the Name.
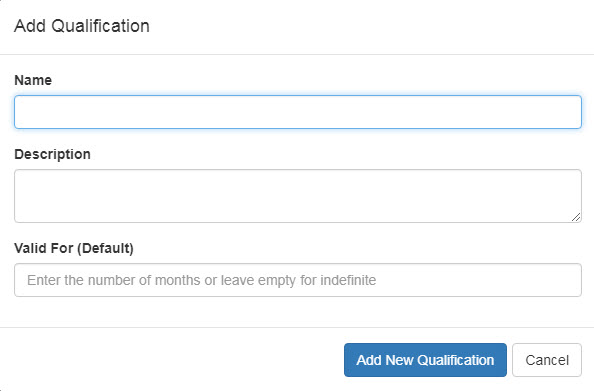
- If the qualification is one that must be renewed routinely, enter the number of months it can be valid for as a whole number (e.g. 12) into the box marked Valid For (Default). The field will not accept non-numeric characters.
- If the qualification does not expire, or if it is too variable to set a default, leave the Valid For (Default) box blank and simply click Add New Qualification.
- The page will return to the Qualification landing page. By default, Qualifications will list alphabetically, but you can reorder the list by clicking the arrows next to the headers for Name and Valid For (Default) indicated here:
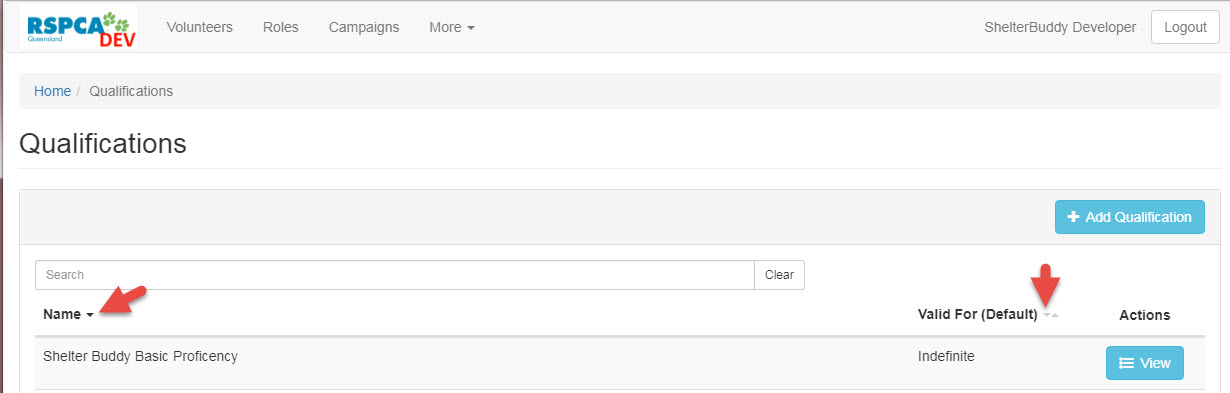
- You can also use the Search box to use keywords to find a Qualification in the list more quickly.
- Once created, you can click the View button at the right-hand end of the row to view. Once the selected qualification is loaded and confirmed as the one you want, click the Edit button to make changes.

- Click the Delete button to remove the qualification entirely.
- When Editing, you can make amendments to the Name, Description, and Valid For (Default) fields. Click the Save button in the top right to save your changes, or click Cancel to exit without making changes.
Comments