
Sometimes it is necessary to cancel a license for a variety of reasons. Perhaps they chose the wrong license type, or there was insufficient information provided.
When this occurs, these are the steps the customer needs to take to re-license the pet.
This process assumes you have already created a profile and have logged in to the Online Licensing portal.
For more information on how to do this, see our help doc on creating a profile HERE
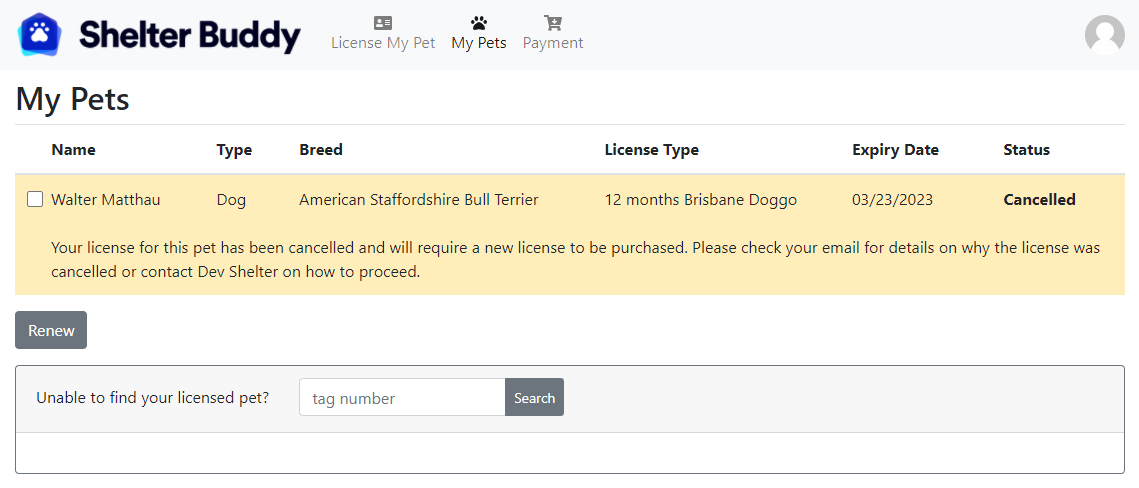
- From the Welcome! landing page, click the link My Pets at the top of the page
- The cancelled pet should display highlighted, with a message warning that the license applied for was cancelled:
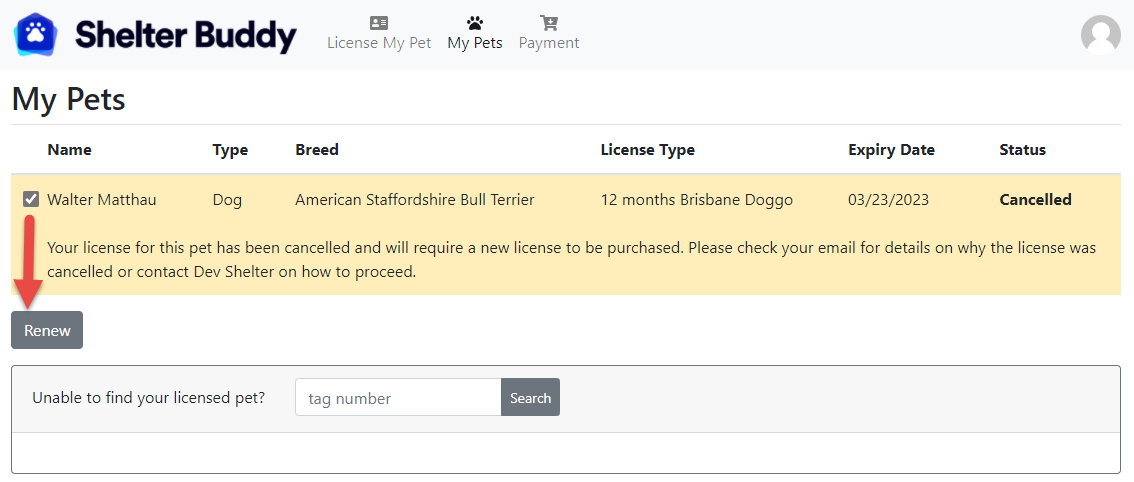
- Tick the box beside the Name of the animal in question to activate it, then click the Renew button.
- The Person Details will load so you can verify they are correct and nothing has changed. Click Next to verify and proceed.
- The animal's information will appear: correct any information that may have been incorrect (e.g. if that was the reason the license application was cancelled)
- Click Next
- The final stage will be to select a License Type from the drop-down. It will default to showing the last license selected, but if this was incorrect, click the down arrow at the end of the drop-down to select another:
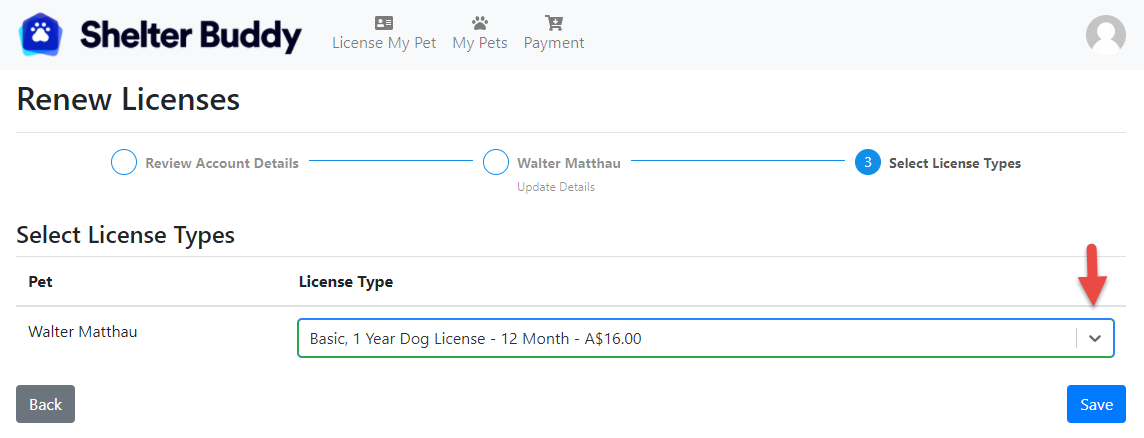
- When the correct license has been selected, click Save
- The Payment Page will load. As payment will have been refunded when the license was cancelled, please process a payment for the new license application.
- Payment Details: Enter the Card Number into the area indicated. Incorrect numbers will be rejected.
- Enter the expiry date as prompted
- Enter the CVC number as prompted
- Enter your zip number as prompted
- Terms & Conditions: Click on the terms & conditions link to view, then click the adjacent box to agree to these terms and conditions.
- When the page is complete, the Pay $# button will activate. Click the button to complete.
- A Your payment was successful! message will display to confirm.
NOTE: The site will notify you of a successful application and your receipt will be emailed.
Comments