
This process assumes you have already created a profile and have logged in to the Online Licensing portal.
For more information on how to do this, see our help doc on creating a profile HERE
It further assumes that you have previously licensed a pet with this issuing authority, but not via this portal and you wish to link an existing record with your online profile.
- From the "Welcome!" landing page, click the link My Pets shown in the box below the Welcome! message if you've not added any pets previously
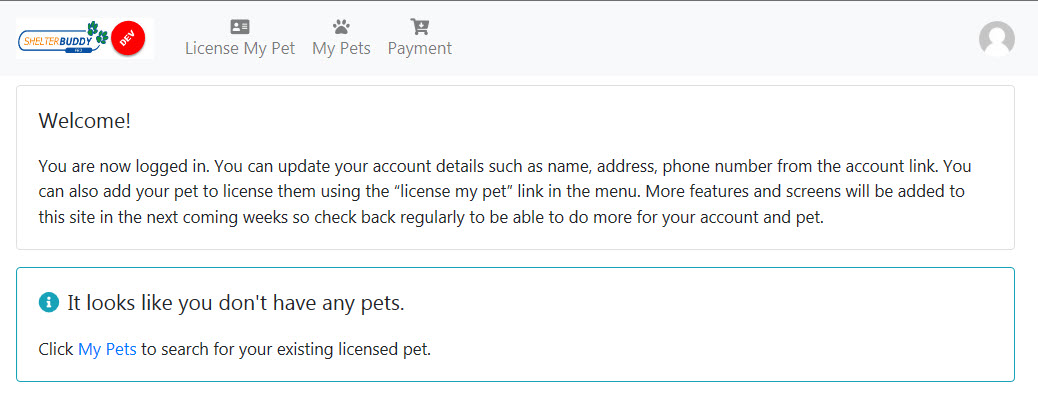
OR - Click the My Pets link at the top of the page, with the paw print icon.
- Any pets previously registered via this portal will appear at the top of the page. If you have no pets currently linked, it will look like this:
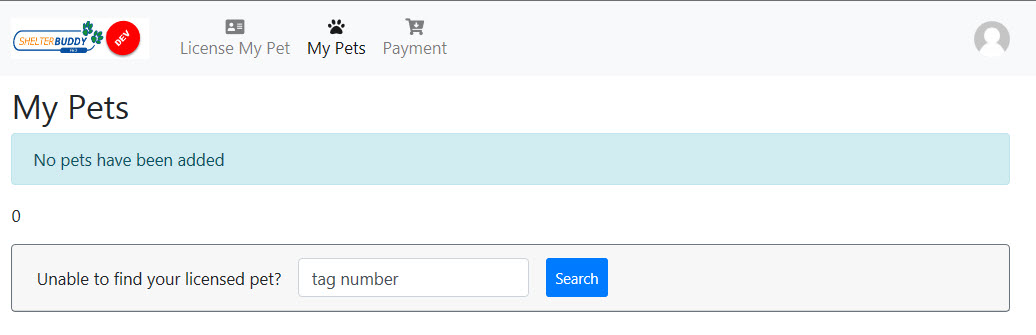
- Enter your license tag number in the tag number field and click Search.
- The search will return any possible matches to your pet so you can verify you have the right one. NOTE: if the site hosts different license providers and they use the same numbers, there may be more than one pet with the same license number displayed.
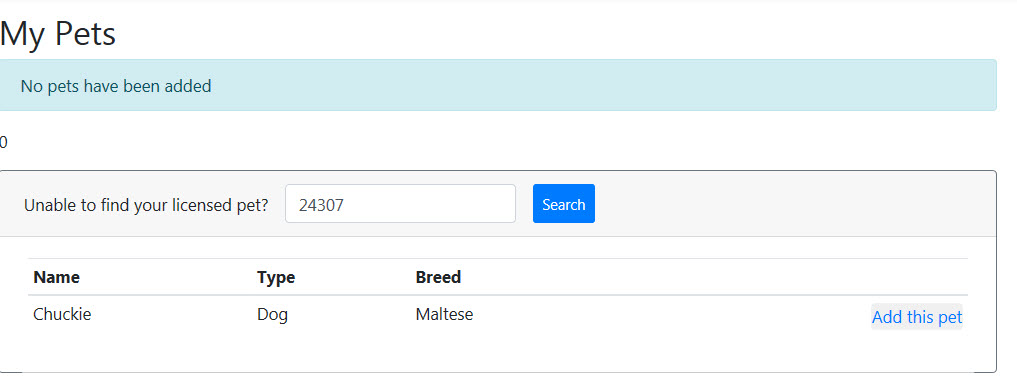
- If this is correct, click Add this pet
- The page will auto-fill any known information. Check that the information is correct and add any additional information that may have been missed.
- Information such as the animal's spay/neuter status, microchip numbers, and age may have an impact on which licenses you can apply for.
- Beneath the Breed* box, you will see options to nominate if your pet is purebred or a mixed breed.
- The Purebred option will mean you can skip straight on to Color*.
- If you select Mixed Breed, the Secondary Breed box will activate. You may select a secondary breed for your pet if known, or if there are multiple other breeds or the additional breeds are unknown, feel free to leave this blank.

- Color* - This option is loaded by the Animal Type, so that must be selected first for this to appear. Click into the box to select a color from the list, or begin to type in the box to narrow the list.
- Secondary Color (if applicable) - if your pet has a secondary color, you can record it here. Click into the box to select a color from the list, or begin to type in the box to narrow the list.
- Identification - if your pet has a microchip, tattoo or existing license number, click the +Add Identification button to enter the details:
- Click the down arrow at the end of the box on the left to select the type of identification from the available options.
- Enter the details of the identification into the box.
- If the identification is a Microchip, the box will turn red until the correct number of digits has been entered. Once that has happened, it will turn green.
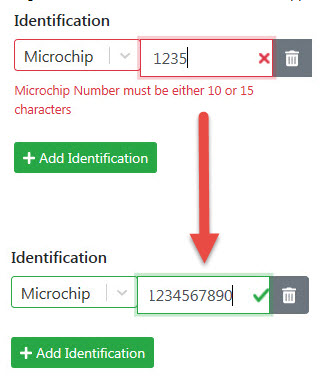
- If you have added one too many identification boxes, click the trash can icon at the end to remove the unwanted one.
- Proof of Rabies* - Click into the Choose file box to search for a copy of your pet's rabies vaccination certificate/proof of rabies vaccination and load the file here.
- Rabies vaccination date* - even if this is outlined on the document you just uploaded, you must still nominate the date your pet was vaccinated here. Click into the box and then either select the date using the calendar or simply type it in, making sure it is formatted the same way as the example in the box.
- Rabies vaccination effective for* - Select from the drop-down if you pet was given a 1 year or 3 year vaccination.
- License Details*: once all of the mandatory fields above are completed, the License Details will appear. Click on the down arrow to select a License.
- NB: only licenses your pet is eligible for will display.
- Click Save.
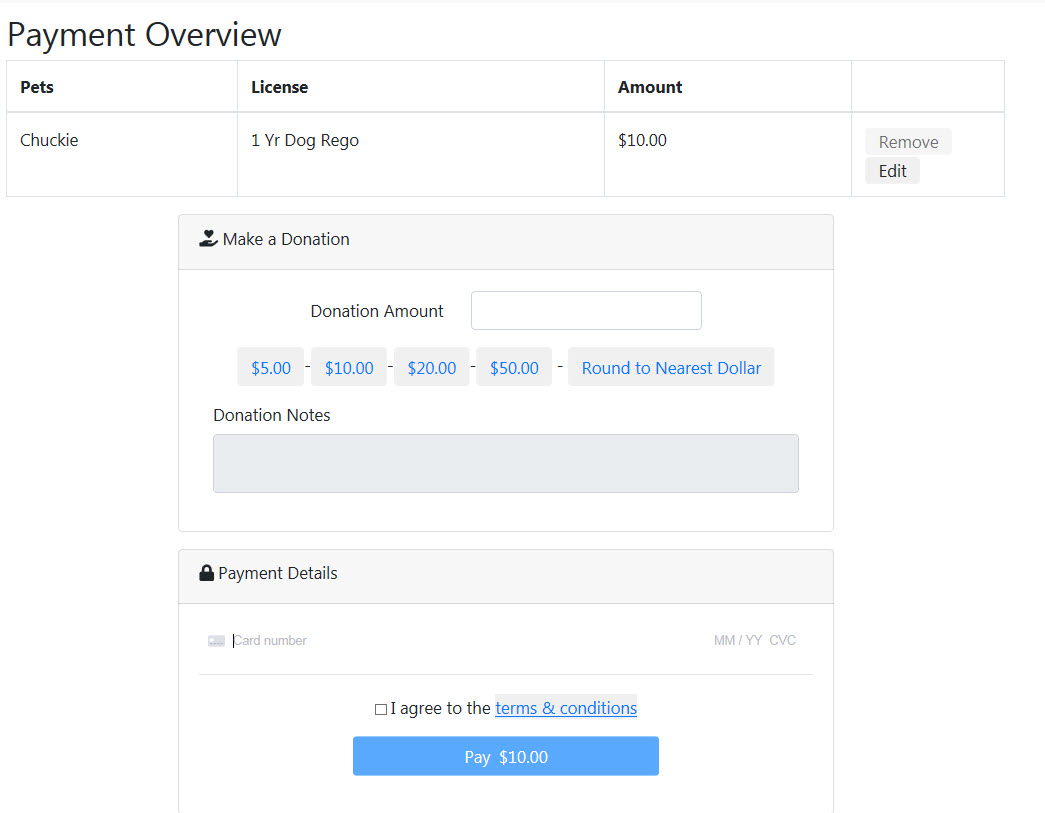
- The Payment Overview page will display. At the top is a summary, including the pets included in the payment, the License selected and the Amount Due.
- If you have additional pets to license, click the License My Pet link at the top of the page, or the My Pets link to search for another existing pet. Repeat until all animal details have been added.
- Once all animals are accounted for, you may proceed with making your payment.
- If you would like to make a donation to your license provider, you can select an amount from the buttons by clicking on one, or you can type directly into the Donation Amount field.
- Payment Details: Enter the Card Number into the area indicated. Incorrect numbers will be rejected.
- Enter the expiry date as prompted
- Enter the CVC number as prompted
- Enter your zip number as prompted
- NOTE: Payment will be held until your application is approved. The site will notify you of a successful application and your receipt will be emailed.
- Terms & Conditions: Click on the terms & conditions link to view, then click the adjacent box to agree to these terms and conditions.
- When the page is complete, the Pay $# button will activate. Click the button to complete.
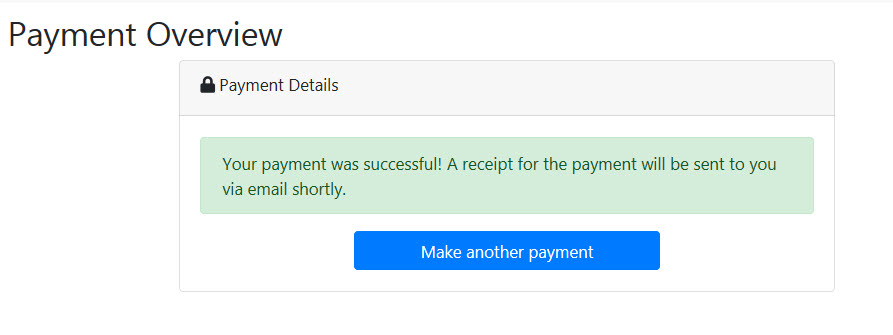
- A "Your payment was successful!" message will display to confirm.
Comments