

This option is found as a link in the Personal Categories at the bottom of the Person Page, but it allows for animals that are stray, owner surrender, agency or wildlife.
First, adhere for the information acquisition procedure appropriate to the agency or person dropping off the animal – i.e. owner surrender would need to supply proof of ownership and identification for themselves. For all others except agency, try to get a driver’s license. If that fails, try to get a name and phone number. Only as a last resort should you enter an animal from an anonymous person and never for an agency or owner surrender.
- Check to see if the animal has ID or a microchip. You should search the system to see if the animal is on the system. If the animal is found note the animal ID number.
- If you have at least the name of the person/agency bringing in the animal, do the following:
- Search for the person or agency.
- If found, skip to step 4.
- If not found, click on the Create a New Entry
- Fill in the relevant blanks on the Add New Person Mandatory fields: title, first name, last name, residential address, mailing address if different than residential, telephone number, and gender. Depending on your organization and the reason the animal is being presented you may be required to confirm identification and other details.
- Click Update Details.
- If you have no information about the person bringing in the animal (e.g. for a DOA Stray), access the Edit Person Details page that has been set up as Last Name: Anonymous First Name: Person.
- If found, skip to step 4.
- If not found, click on the Create a New Entry
- Fill in the relevant blanks on the Add New Person Mandatory fields (use generic information): first name, last name, residential address, mailing address if different than residential, telephone number, and gender.
- Click Update Details.
- On the Edit Person Details page, click on the Scroll To Bottom link and click on the DOA link in the Person Categories at the bottom.
- On the DOA page click on the Add New DOA Animal
- If the animal is already in the system on the DOA page click on the DOA Existing Animal
- On the Animal Search page enter the Animal ID in the Go to Animal ID Click View.
- If there are multiple animals being presented that are already in the system, please see Quick Reference: Multiple Existing DOA Animal Procedure in Shelter Mate’s Doc. Library.
- The Add Animal Details page or the Existing Animal Details page will now be displayed.
- Complete the following:
- Source: click on the down arrow to select the appropriate source for the animal from the options in the drop down menu to reflect the source the animal has come from (agency, owner surrender, stray or wildlife).
- Status: click on the down arrow to select the appropriate status for the animal. For strays, Awaiting Final Disposition is recommended. This status allows you to hold the animal in care for the allotted time and process it forward to an outgoing status or release it to the owner at a later stage. For all others, DOA will be the most common.
- If the animal has any Identification on it should be filled in at this time if possible, particularly if the animal is a stray.
- There is an area for the confirmation of Microchip numbers as to their existence in the animal or not under Identification Confirmation details. This is the light blue area just under the Identification area on the system
- Circumstance: Click on the down arrow and select DOA, unless the animal is a stray in which case Stray (With ID) or Stray (No ID) should be used.
- Distinguishing Features fields should be filled in, especially for stray animals.
- Lost/Found Address or Location fields
- If you have an exact address, enter it.
- If you do not have an exact address a description, an intersection, landmark description or other information can be entered.
- It is recommended that the means of the animal’s demise (if known) be recorded in the general notes field.
- Click Add Details.
- The Add Receipt page will display.
-
- Payment Method: Click on the down arrow to select an option appropriate to your protocols
- If the digital signature module is enabled, there will be a section towards the bottom of the screen prompting you to have your customer sign the pad: Select your option as applicable
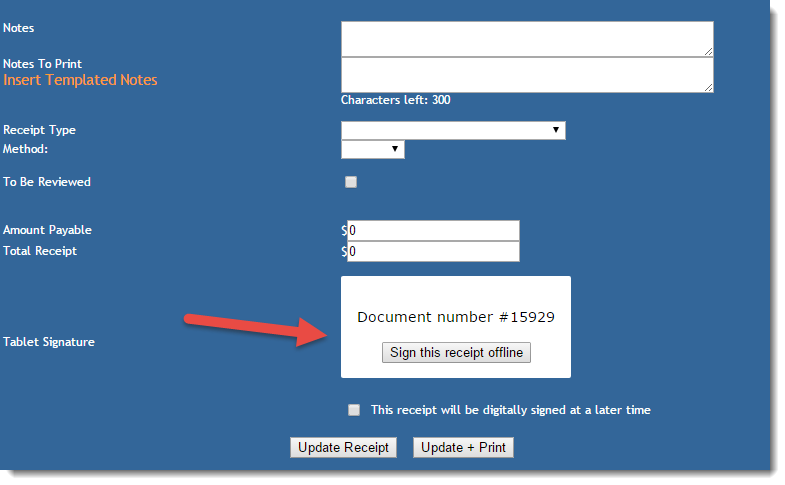
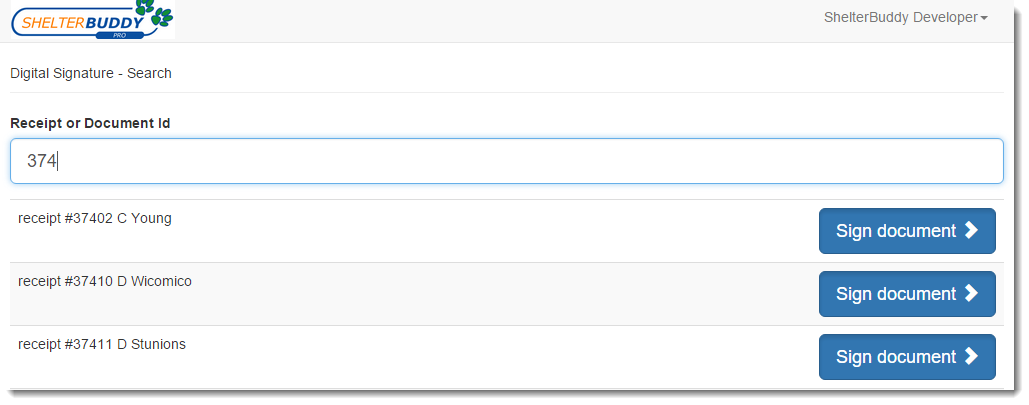
- If signing digitally, look up the Document Number on the tablet:
- Pass the client the tablet to sign:
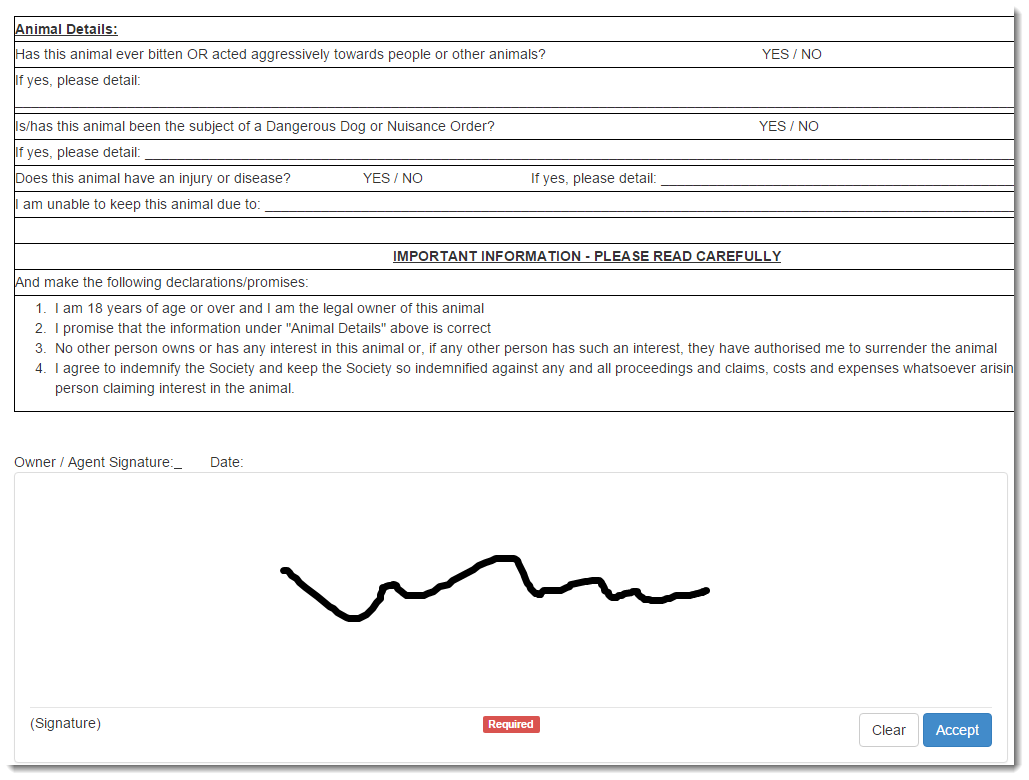
- Click Accept. Only after this has been done will the Finalise signature option be enabled:
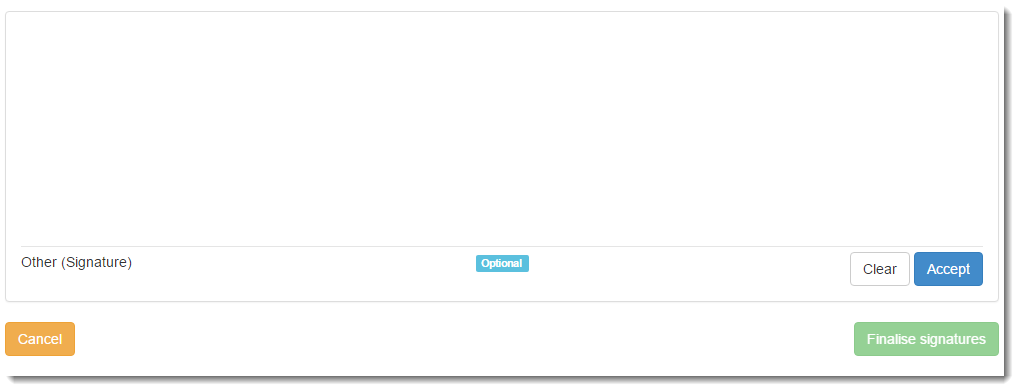
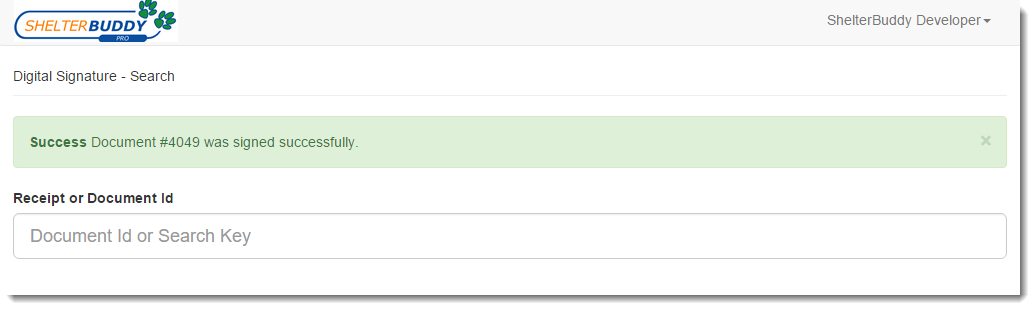
- A success message should display:
- Click Update + Print.
- Print a hard copy of the receipt for your client, and another for yourself if required. They will print in PDF format.
- DOA forms can be emailed to clients for sites that are working towards a paperless office.
For Multiple Existing DOA Animals:
- Follow the same process as above up to and including step 4
- On the DOA page click DOA Multiple Existing Animals
- On the Animal Search page enter the number of animals to be searched and click Get Animal IDs.
- Enter the relevant number of animals and a window will appear with that number of spaces to add Animal ID numbers.
- Enter the Animal ID numbers. Click Create Pop Up Window.
- Once the pop up box appears, you will note the Animal ID numbers you selected will appear as links.
- By clicking the link, the main page will display the details of that animal.
- Complete the details for each animal in turn as per above.
Comments