
As an admin user, you can set up the template in licensing under Admin > Expiry Notice Email Template and then to enable it, you can do so under Admin > Expiry Notice Email Setup (we recommend setting up the template before enabling it).
-
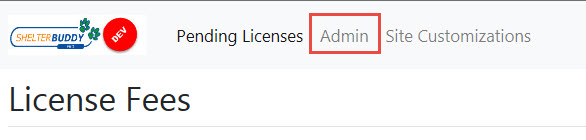
As an admin, navigate to “Expiry Notice Email Template” (this is under the “Admin” menu)
-
Set up the subject and body template for the expiry notice email and save it
-
Navigate to the “Expiry Notice Email Setup” page (also under the “Admin” menu)
-
Enable the expiry notice, enter an email and set the number of days to send after
This process shows you how to enable your online site to send expiry notice emails, and sets up when those emails should be sent out.
From your Shelter Buddy site:
- From the Welcome/Search page, click the Licensing link in the orange left-hand menu.
- At the top of the landing page, click in the Admin link in the menu items:
- From the menu list of options, click on Email Template you wish to update.
- If you wish to set up a Renewal Email Template, be aware that by default, this will be disabled.
- Click Renewal Email Setup
- Click Enabled to activate the templates
- Set the return email address and set the period prior to the expiry date that the emails will be sent.
- Initially, the fields will be blank. Both fields are mandatory to continue.
- Subject*: This is the subject field for the email. You can:
- Enter free text by clicking into the field and typing the required text manually
- Enter auto-fill text to personalise the subject by clicking one of the options below the field:

- Each of these will enter text into the subject field that will populate with personalised information for each email sent.
- Body*: This field can be populated with information relevant to the template in question.
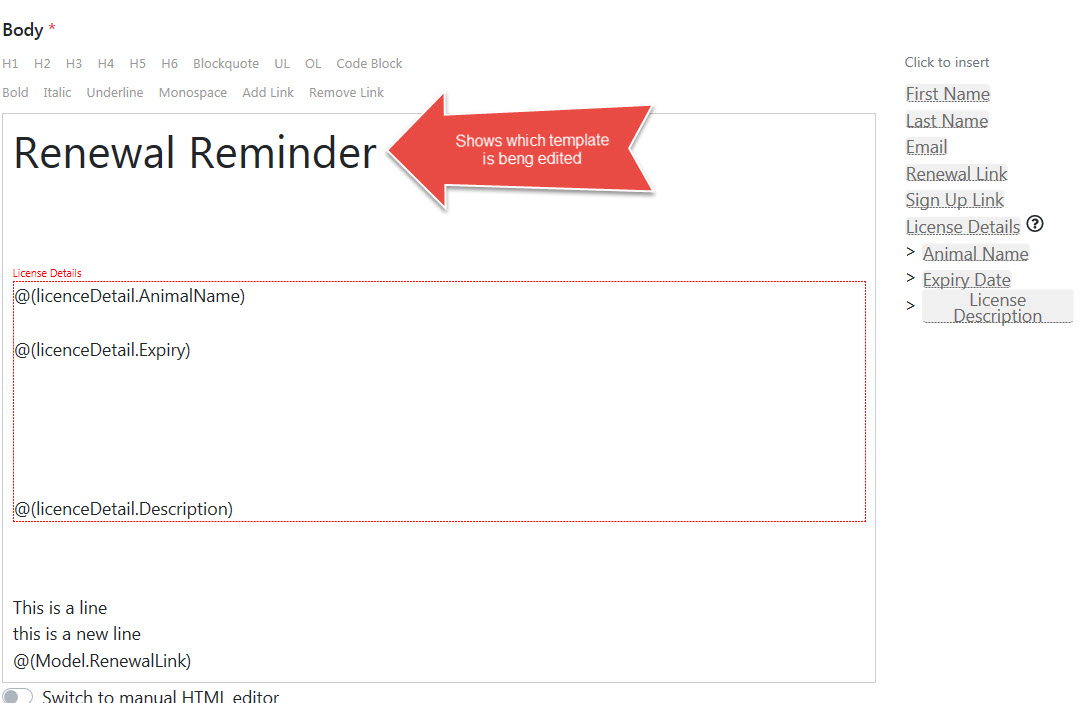
- Click on the options at the top to change the size of the text (H1 - H6), create paragraphs (Blockquote), bullet points (UL), numbered lists (OL), bold or italic text, underline text, and/or add/remove external links.
- Click on the links on the right to add auto-fill text. These links will add codes to the body of your text that will be populated with personalised information when the email is sent out.
- If you are familiar with HTML coding and would like to manually add line breaks, etc, you can switch to manual HTML editing at the bottom of the page.
- "Repeating groups" allow you to add auto-text for multiple animals in the same email.
- When you are satisfied with the text fields, click Preview to get an idea of how will look when sent. The preview loads random data into the auto-fill fields for you so you get a good idea of how the text flows. NOTE: if there is no information on the site yet (not even a test person) the preview will not be able to load and you may see an error. Make sure at least one person is added to the site first.
- If the text requires further work, click Cancel to return to the working page.
- If the text is satisfactory, click Save
- You will receive a "Saved Successfully" message.
- Click another menu item to continue.
Comments