
This process walks you through how to set up fees for specific intake processes, such as Owner Surrender or Euthanasia Request.
NOTE: if only one fee is set up for a Person Category (PC), the system will assume that the fee is mandatory and will assign it every time an animal enters care via that PC.
If you do not want that to happen, make sure there are multiple fees available to the PC (this will mean you must select a fee, and it will still proceed if you select no fee at all), OR, if only one fee is available but it is not mandatory, set it up via Products & Services instead and make it available only via Animal Additional Products / Services and/or Person Additional Products / Services instead. This means it will not be available via the process, but it can be added beforehand, via the Person page, or for multiple animal entries, via the Animal menu.
To perform these tasks, you will require access to the Administration menu.
- From the Welcome/Search page, click the Administration link in the orange left-hand menu.
- Scroll down the Administration Menu list until you locate the link Fees Administration, then click on this link.
- From the drop-down, select the relevant Person Category (PC) (e.g. Owner Surrender, Stray, etc).
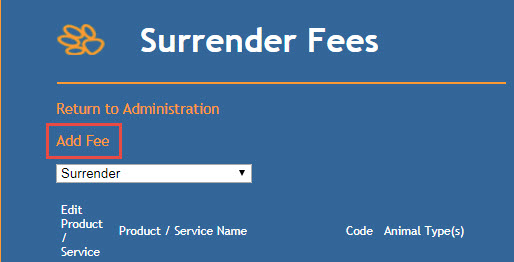
- The page will load a list of any existing fees set for that particular process. Each row will have an Edit link on the left-hand end, and an Edit Fees link on the right-hand end.
- Edit will allow you to make changes to the product set-up, including the name, product grouping, which Animal Types it appears for, which Physical Location it appears for, the value of the fee and which account it is linked to. It also enables you to mark the item as inactive.
- Edit Fees will allow you to amend only the value of the fee, the account, and which PC's it is linked to.
- If you would like to add a new fee, click the Add Fee link at the top left of the page, above the PC drop-down.
- A page will display that is identical to the one used when setting up normal Products and Services. Enter the following:
- Product/Service Name: Enter the name of the fee or service. This is what your users will select from the list, so make sure it is clear and makes sense in that context.
- Product Code: Optional. You may add code here for accounting purposes if desired.
- Product Group: Click an option from the list to select which product group this item belongs to. If you use the Scheduling module, this step is particularly important. NB: you can add additional items to this list via Admin > Products and Services > Product Groups > Add. See our help guide Products & Services for more information.
- Animal Type: This list directs which Animal Types are eligible for the fee. If an Animal Type is not selected here, the fee will not show for animals with that type. You can select an Animal Type by clicking on it or select multiple types by holding down the CTRL key and clicking items with your mouse.
- This Product is Active - defaults to active. Leave this item at the default setting.
- Add This Product To: Directs which Physical Locations the fee is available to. Even if you only have one location, it is important to make a selection here, or you may find the fee does not show. To select multiple locations, hold down the CTRL key and click the desired items in the list.
- Click Add Product to proceed.
- The fee page will load. You'll notice that the list of places a fee can be assigned to is much abbreviated here: this is because it only displays Person Category processes.
- If you would like the fee to be available to multiple Person Categories, click as many as desired.
- Enter your fee value in the Cost Price box
- Enter the default GL CODE - remember, this is an auto-complete field, so simply type part of what you are looking for, then select from the list of suggestions.
- Click the Cascade to Price Levels button. This will set not only your fees but GL Codes as well.
- Don't forget to select a tax if necessary.
- Click Update Product.
- You will return to the Fees menu.
- Your new fee, or the changes you made to the existing one, will appear on the list.
Comments