

Positive Descriptions are used as a shortcut to add often-repeated information to an Adoption Summary more easily.
The Positive Descriptions list is arranged numerically, then alphabetically.
To manage Positive Descriptions, you will need to have access to the Administration menu.
- From the Welcome/Search page, click the Administration link in the orange left-hand menu.
- Locate and click on the link Edit Drop Down Lists
- Find the option Positive Description and click the Maintain link
- The Positive Descriptions list page will load, displaying all current Postive Descriptions, ordered first by the assigned number and then alphabetically. (There can be more than one with the same number assigned).
- To Add a Positive Description:
- Locate the +Add button on the right side of the page and click it to load the entry page.
- Enter the text for your new Positive Description into the Description comment field.
- If you would like to include formatting (e.g. bold text, underlining, centred text, etc.) click Use HTML
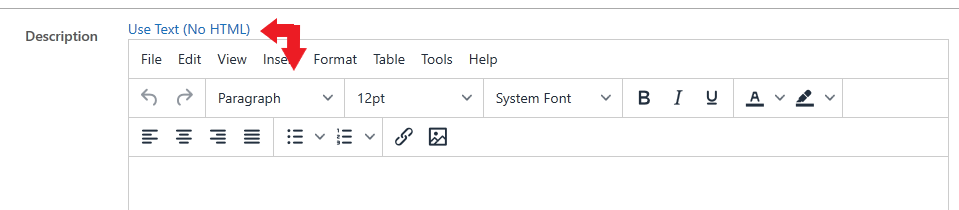
As you type, it will look like the average text you might type into a word document as you type it: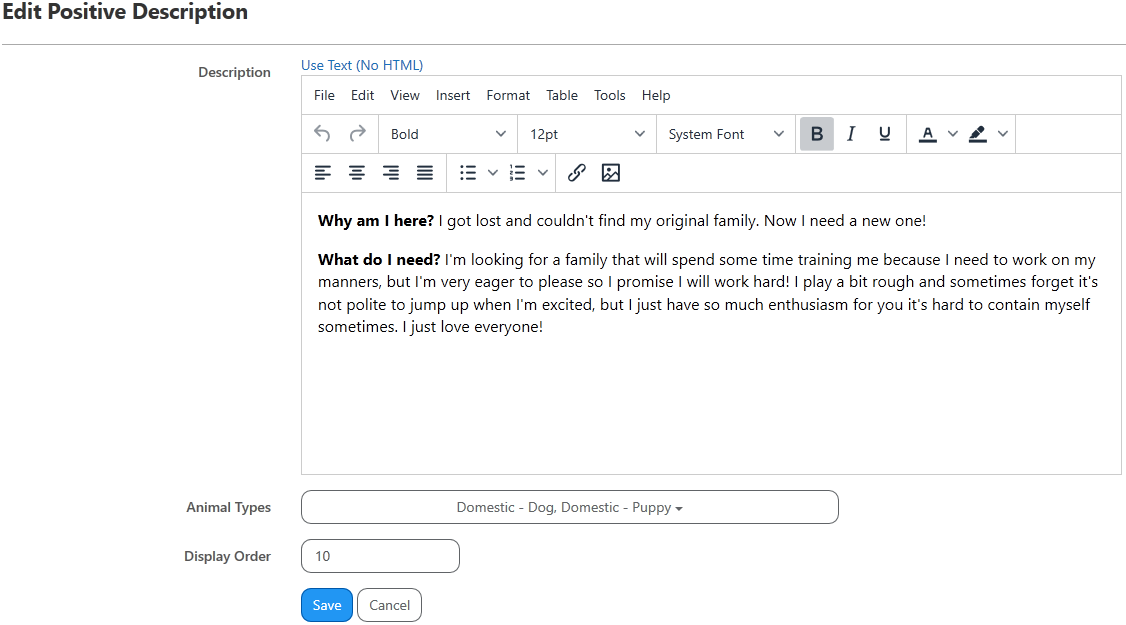
but when you click SAVE, you'll notice the code used to add the formatting will be visible:
Don't panic about this: it's just so the system "remembers" what you need. This will NOT be visible to the public at any time, it's simply placeholding your formatting choices.
- If you would like to include formatting (e.g. bold text, underlining, centred text, etc.) click Use HTML
- If the Positive Description is only relevant for specific Animal Types, you can set it to only show for relevant Types by clicking the drop-down labelled Animal Types and selecting from the list:
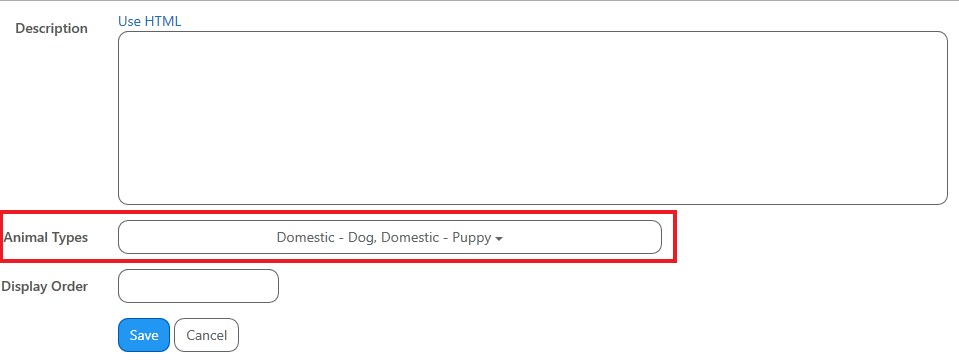
If you make no selection here, the Postive Description will be available to NO Animal Types. If you would like it to be available to all, you must click the "Select All" option at the top. - If you would like the Positive Description to appear in a particular position in your list (e.g. first in the list), enter the number related to that position into the Display Order box. If you leave this blank, it will auto-assign a position and place the entry at the top of your list.
- Click Cancel to return to the List page without saving
- Click Save to add your new Positive Description and return to the List page.
- To Edit an existing Positive Description:
- Locate the Postive Description you would like to amend within the List.
- Click on the blue Edit button on the right end of that row.
- Make any changes you need to the Description, Animal Types or Display Order by simply clicking on the field you'd like to change and making the changes.
- Click Cancel to return to the List page without saving
- Click Save to add your new Positive Description and return to the List page.
- To Delete an existing Positive Description, simply locate the Positive Description in the list and click the Delete button on the far right-hand end of that row.
- A validation message will appear. Click Delete to confirm or Cancel to return to the list without removing the Physical Description.
- NOTE: Deleting Physical Descriptions is permanent and cannot be undone.
- To Change the order the items appear in your Physical Description list, you can use one of two methods:
- Drag-and-drop: The easiest way is to simply click on the item you wish to move, hold your mouse button down and drag it to the spot you want it, then release the mouse button to drop the item into place. It will automatically assume a number that correlates to that position.
- Edit: You can use the Edit feature to manually enter a number into the Display Order box. This method may result in more than one item having the same number and some numbers not appearing in the list, but this does not impact the performance of the feature as it simply then orders the items numerically against the list, then alphabetically against each other.
- NOTE: if you change the order by EDITING and then later use the Drag-and-Drop method to resort them, the numbers will change to become sequential once more.
You can return navigate back to other pages using the breadcrumbs at the top of the page.
Guide to what some the HTML formatting means:
NB: you don't actually need to know this to use this feature. It's only listed here to de-mystify the way it looks when viewed in the list.
Remember, if you use formatting and remove these controls because they look funny, then your text will not display correctly on the Pet Portfolio, Kennel Card, or public site.
<p> New paragraph
</p> End paragraph
Space
<em> Begin italics
</em> End italics
<strong> Bold Text begins
</strong> Bold Text ends
<ul> Unordered List (bullet point)
</ul> End unordered List
<ol> Ordered List (numbered points)
</ol> End ordered list
<li> List item in a list (i.e. each new point)
</li> End list item (i.e. return was used to go to a new line)
<blockquote> Begin indent paragraph
</blockquote> End indented paragraph
<br /> Full Return (two rows)
<span style='text-decoration: underline;"> Underlined Text
<span style="color:#e03e2d;"> Coloured Text (the numbers and letters after the hashtag will vary depending on colour selected)
<span style="font-size:14pt;"> Different font style begins. The font size will be indicated as a number followed by "pt".
</span> End special text controls (anything that began with "span")
<p style="text-align: center;"> Begin centred text
<p style="text-align: left;"> Begin text aligned to the left
<p style="text-align: right;"> Begin text alligned to the right
<table style="width: 100%; border-collapse;" border="1"> Table size and description
<tbody> Begin Table Body
<tr> Begin Cell
<td style="width; 33.33%;"> Cell description - size and if required cell border or alignment
</td> End cell controls
</tr> End cell
</tbody> End table body controls
</table> End Table
Comments