

This section allows two person records to be merged into one after a person or facility was accidentally duplicated in the system. Only users with administrative access can process this function.
- Tip: If the files aren't being merged immediately, it is a good practice to mark the file that is not being kept as Inactive, and add a pop up note directing users to the other file. Reasons for de-activating a file can be loaded via Admin > Edit Drop Down Lists > Inactive Reasons > Add.
Don’t forget to:
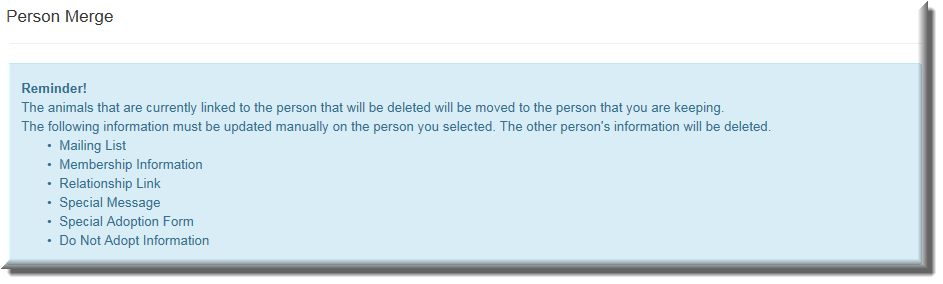
- Make sure to transfer information from all non-mergable fields from the record that is to be absorbed prior to merging the records. The merge page itself will list the fields that are not transferred to the kept file during the merge process.
- Tip: one record will be kept; one record will be absorbed by the kept record. Open the 'To Keep' record in one tab/window. Open the 'To Be Absorbed' record or duplicate record in another tab/window. Keep the merge page open in between them.
- NB: All animal files, dispatch records and receipts attached to either record will be merged to the KEPT file automatically.
- Obtain both Person IDs.
- Determine which of the two records the most accurate record is – usually the one with the most recent information or the most information in the non-mergable fields listed above.
- Click on the Administration link in the Orange Menu on the left hand side of the screen.
- Click on the Merge 2 Person Records link.
- Person ID 1: enter the first of the two IDs.
- Person ID 2: enter the second of the two IDs.
- Click Continue
- The page will automatically indicate the most recently updated Person record, but it will also indicate the most recently updated address information by marking the radial buttons accordingly:

These are not always on the same file - Select the person record that is to be saved, if different to the one auto selected.
- Select the Residential address to be kept if different from the one auto selected.
- Select the Mailing address to be kept if different from the one auto selected.
- Click Continue
- The page will preview the information that will be kept as well as notifying you if no information was found for the fields it checks:
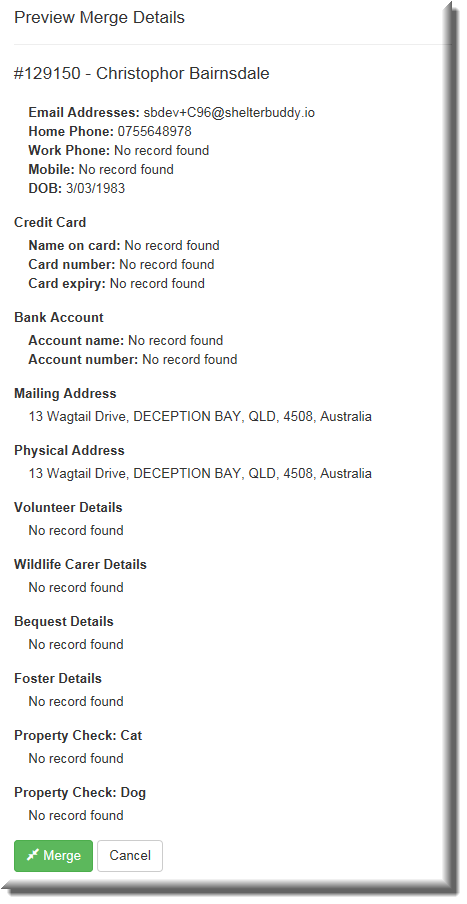
- If there is information showing as "No record found" that should be, select Cancel to return to the separate files and recheck.
- If everything is correct, Click Merge.
- A pop up will appear asking if you are sure. If you have any doubts, you can back out by clicking No.
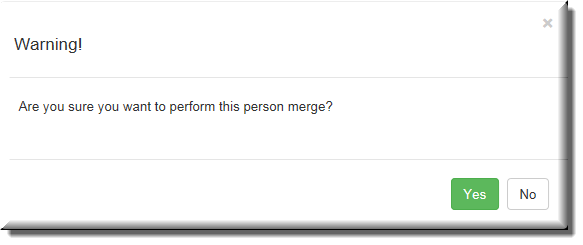
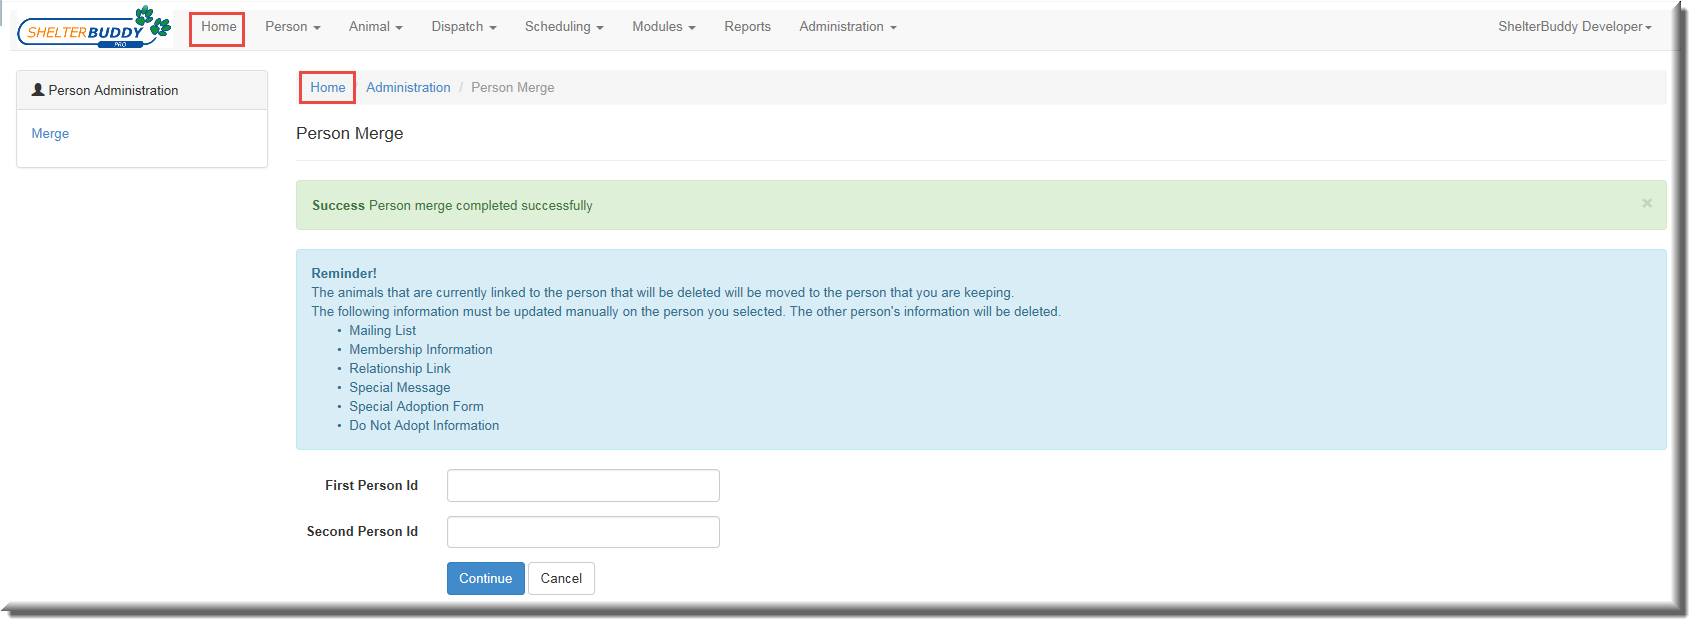
If everything is correct, click Yes to continue and complete. - The page will return to the starting point and you will see a Success! banner at the top of the page to notify you the merge was performed successfully.
- To return to the main page, click the breadcrumb at the top marked Home
Comments