
*Note: this feature is still in Beta testing, so please contact Shelter Buddy via suport@shelterbuddy.com if you would like this activated on your site.
Important: Currently, the schedule can only work backwards, i.e. you can see the previous day/week/month/year, but not the upcoming day/week/month. The other main limitation is that scheduling reports only works for those on the new white pages. Older reports cannot be scheduled until they are upgraded to the new format. Please note, our engineers have both these tasks on their job lists and we will eventually upgrade all reports so all can be scheduled, for past or future dates. If there are any reports you would like to schedule but cannot because they are in the older format, please contact support@shelterbuddy.com to request its upgrade and we will do our best to accommodate.
Most people need to see the same report, run the same way, routinely. This can be done in Shelter Buddy so your reports will be emailed to you on a regular schedule.
To set up a scheduled report:
- Go into Reports > Scheduled Reports (top right-hand corner)
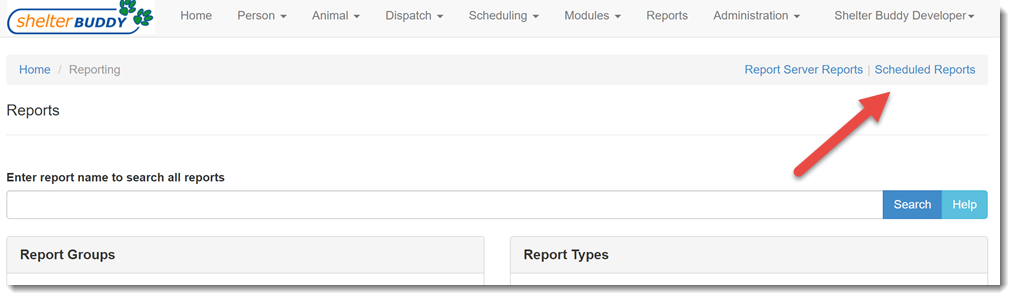
- Click +Create to load the page to create a new schedule:
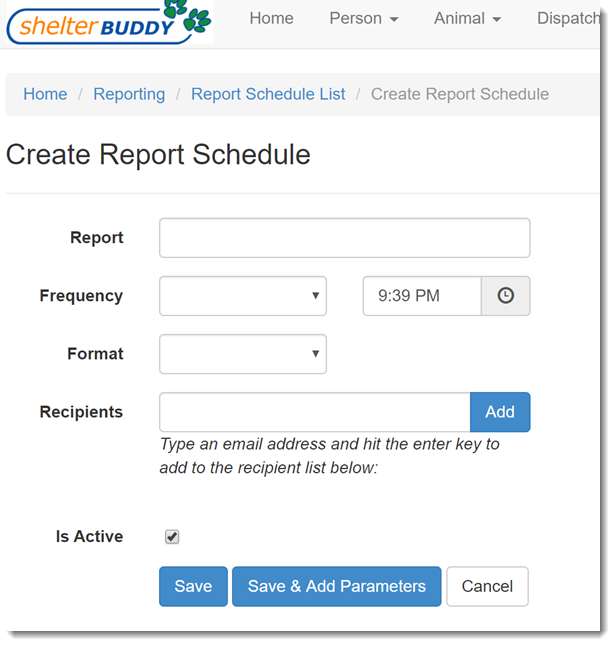
- Type the name of your report into the Report search field at the top. This is an auto-complete field, so it will start offering suggestions after the first 3 characters entered. Select from the offered list by clicking on the option you want. Not all reports will show; if this is the case the report may be an older report so email support to ask to make the report available.
- Click the down arrow on the Frequency drop-down and choose how often you would like to receive from this list:
- Hourly
- Daily
- Weekly
- Monthly
*Note: currently, these settings are only for PAST DATES (e.g. the previous week) not for upcoming dates. We have plans to make future dates an option and this document will be updated when that happens. For that reason, this system does not work well with reports that look at due dates, e.g. report 7 Vet Treatment Due.
- Adjacent to the Frequency drop-down is a time field. This sets the time the report will run and email a result to you. Use the clock icon to select the time you would like the report to be sent.
- Click the down arrow to select a Format for the report from the drop-down. Select from any of the following:
- Excel
- CSV
- Enter at least one valid email address into the Recipients text field, then either click Add or simply hit the enter key on your keyboard. You may enter as many emails as you wish, but there must be at least one in order to save the schedule.
- Make sure the Is Active box is ticked. Unticking will make the schedule inert and the reports will no longer send.
- Click Save & Add Parameters to set up your report parameters (if you click just save the report will use the default parameters).
- The following page will display the report parameter entry page as it would look if you ran it manually, except the Date fields will be missing.
- Set your drop-down and Include Fields choices as preferred
- Click Save Parameters for Scheduled Report if you don't need the report until it is next scheduled to run.
- Click Save And Send Scheduled Report if you would like to send a copy of the report immediately.
- The page will return to the Scheduled Reports dashboard page. You will then receive emails on a regular basis if a report has a date range that is required it will use the date range from the previously sent report. So for example, if you have a monthly report it will run the report with the date range from the previous month to the current date.
- To edit an existing schedule, click on the name in the list to open, make your changes and click the Save option or Save & Add Parameters if you'd like to change the parameters of the report.
Comments