
Shelter Buddy offers several opportunities to include additional Products or Services with various processes (e.g. intakes, outcomes), or you can sell a product or service directly to a person. This process takes you through how.
Selling a Product or Service directly to a Person
This process assumes the Person already has a Person Details page on your Shelter Buddy site.
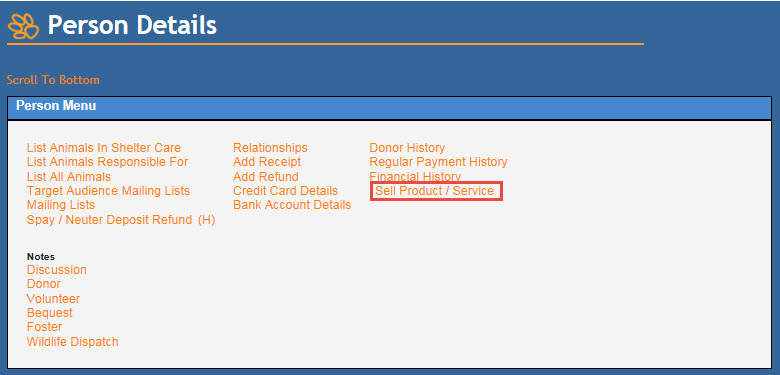
- From the Person Details page, locate the Person Menu at the top of the page and then click on the link Sell Product/Service.
- Type something into the Product/Service box to auto-find the item,
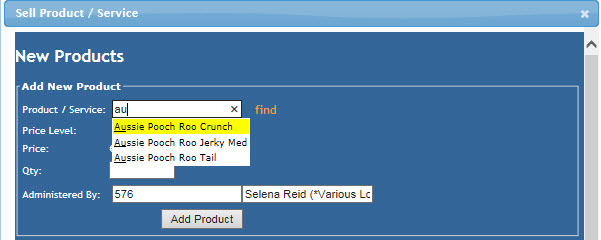
or click the find link to see all items available to sell via this method and simply click on one from the resulting list to select it.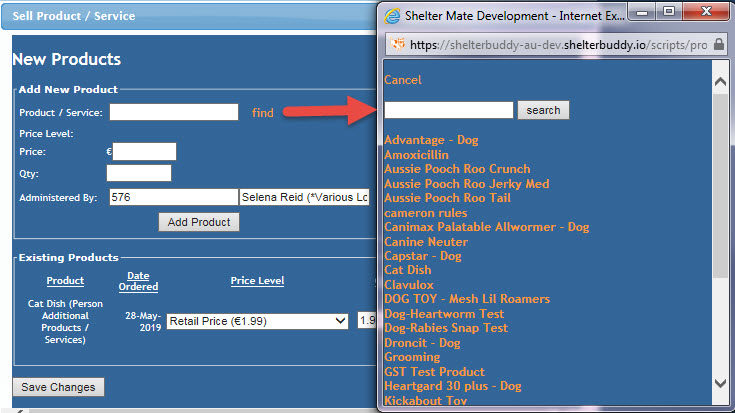
- Once selected, the Price Level and Price fields will populate. You can change the fee by clicking the down arrow at the end of the Price Level drop down.
- Enter the number of items the customer is purchasing (or instances of service) into the Qty box. e.g. if they are purchasing 3 toys, you would enter "3", or if they are purchasing 2 sessions with your groomer, you would enter "2".
- Click Add Product
- The item will appear below in the Existing Products box so you can confirm you have added the correct number of items at the correct price level.
- Should you need to remove any items at this time, click the Del link at the end of the row to delete them.
- Once you have added all required Products and Services, click Save Changes.
- A pop up will ask you if you would like to add a receipt now:
- Click OK if you would like to proceed directly to a receipt page.
- Click Cancel if you would like to perform another task (e.g. Adoption process). If you select this option, the items added will "jump" onto the next receipt created for this person, regardless of what sort of receipt it is.
- You will see a screen prior to the receipt page loading that asks you once again to confirm the Products & Services that will be added to this receipt.
- Click the Del link if you do not wish that item to be receipted at all. This will remove the item from the person's inventory.
- Click the Charge to customer box to remove the tick if you would like the item to remain in inventory (to be charged out later) but do not want it charged to this particular receipt. The item will skip to the next receipt linked to the person after this one.
- Click Continue to Receipt when the items are correct.
- On the receipt page, the items will auto-allocate as they were set up.
- Just above the Allocation rows, you will see the Products / Services box: this box gives you one last chance to check the items you are charging to your client.
- If any items have made it this far that should not have (or e.g. if the customer changes their mind at the last moment and decides against purchasing a particular item), you can use the Remove link at the end of the row to delete it from the receipt.

- If any items have made it this far that should not have (or e.g. if the customer changes their mind at the last moment and decides against purchasing a particular item), you can use the Remove link at the end of the row to delete it from the receipt.
- Once everything is correct and the allocations add up, click Update Receipt or Update + Print to complete your receipt.
This process can be performed in other ways also:
- Use the Sell Products/Services link in the Animal Menu to have the item included on the next receipt linked to this particular animal, regardless of what that receipt is.
- You can also add items simply to track how much you have spent on the animal. In this case, make sure the Charge to customer box is NOT ticked, to make sure the items are not included on any receipt.
- During any intake or outcome process (e.g. Stray, Surrender, Adoption, Reclaim etc) you will see a page not unlike this one prior to the Receipt page:
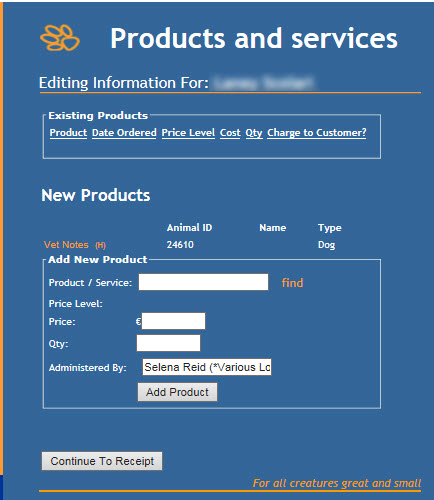
You may use this screen to add any item available via this process to the receipt.
(Items are made available to it via Admin > Products & Services > Edit Product > Change Prices >Tick the process in the price list.)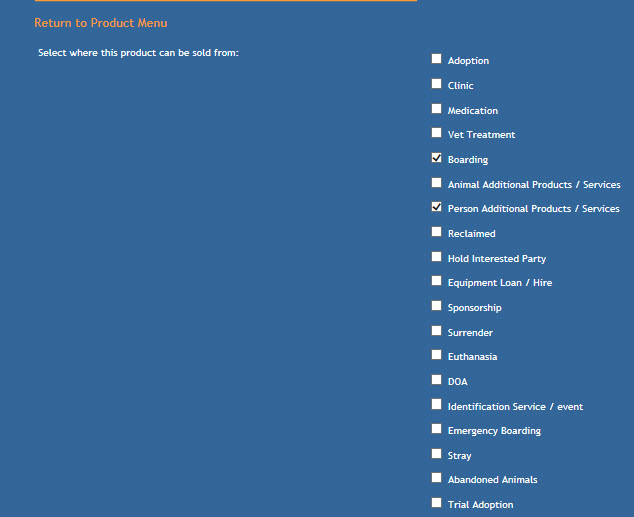
Use the same search-and-add process described above to add items, then click Continue to Receipt when all relevant items have been added.
Comments