
Shelter Buddy has an ever growing list of "canned reports" that can be used to discover all sorts of information from your site. Everything from details of people entered on your system, to animals currently in care, to statistics in various formats are available whenever you need them!
Feel free to explore and see what you can find!
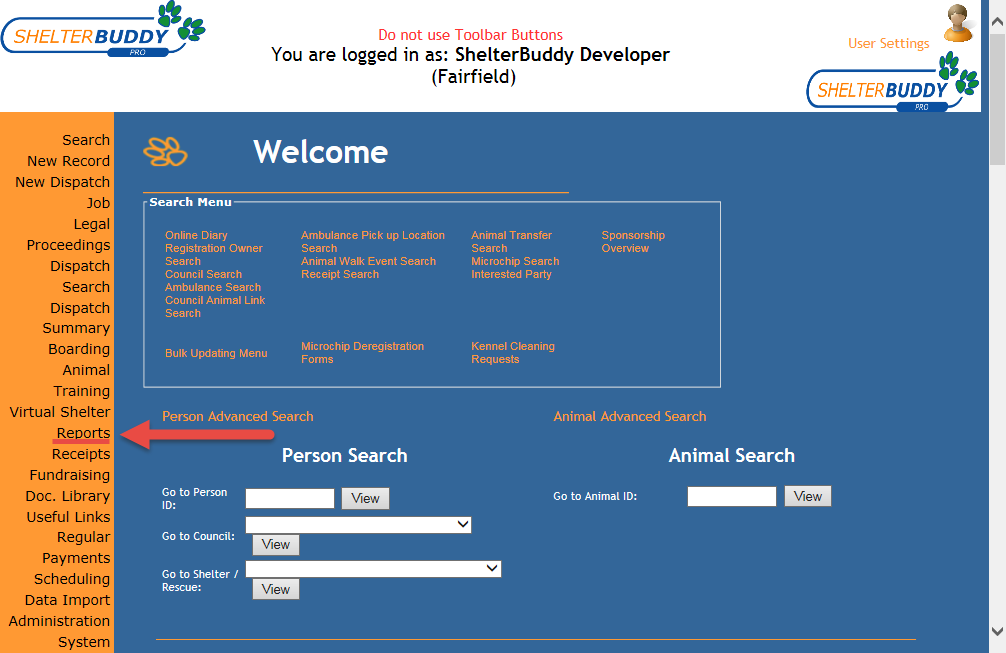
Click the Report link in the orange menu on the left hand side of screen from almost any page:
This will take you to the Reports main page:

Click on the name of a report group to open it and view the sub-menu.
At the top of the page is a search box similar to the one pictured above. This search box will only find reports if they exist within the group you are looking at. Searches can be done on partial titles: enter a keyword and click Search to see a list of all reports with those letters in that order within the title.
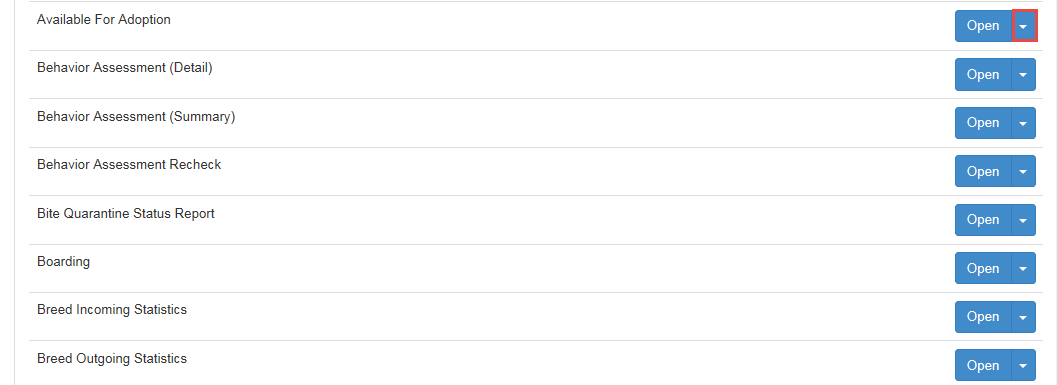
To open a report, click the Open button on the far right. For additional options, click the down arrow indicated here:
Options will display in a little drop down beneath your selections. Just click on an option to select it:

* Report descriptions will open in a pop up.
Reports are listed alphabetically within groups to make it easier to find what you are looking for. If there are many reports in a report group, paging will display at the bottom: 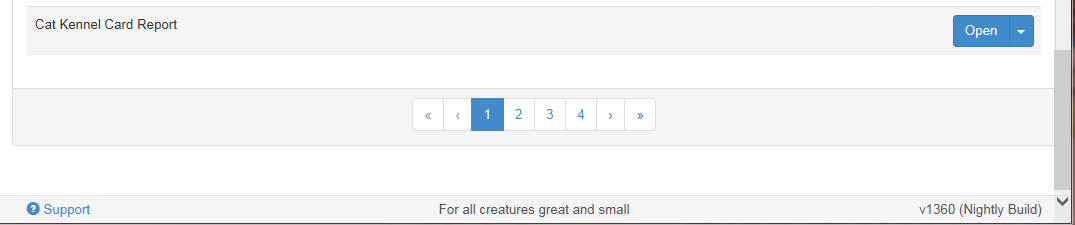
The current page will be highlighted in BLUE and you can use the arrow buttons or click on a number to move back and forth within the list.
When you open a report, a form will be presented for you to fill in. The title of the report will always display at the top of the page, near a link to return to the Reports Menu.
There will be another link to the report description entitled What does this report do? click the link to view the pop up again.
The report will consist of various elements:
Date Ranges: These will be presented as pairs of text boxes with squares on the right end representing calendars. Click on the square to open a calendar box and choose a date.
Select / Unselect Areas: These will be presented as a group or list of boxes followed by a heading that indicates what will be represented in the report if selected. NOTE: there are two versions of these areas; one will appear in the upper part of the report form and represents a filter. Filters will include or ignore information depending on what you select. If you select nothing with a filter, then everything will be included by default.
The other will appear at the bottom of a report form, usually accompanied by a heading such as Include Fields: These represents fields that will display on the report if selected. If you select no fields, then they will all be excluded by default.
To select or de-select an option, simply click on the box next to the heading of your choice.
Drop Down Lists: There are three types of drop down lists you may be presented with -
- Single option drop down: only one option can be selected at a time. Usually, these will be a single box entry with a down arrow at the end. Click the down arrow to make a selection and it will appear in the window box. They usually default to either "All" or a blank.
- Multi option drop down: multiple options can be selected from a list. These are usually represented as a small box with about four entries visible and two arrows at the end: one up and one down. Click on the arrows to scroll up or down as required. To select an option, click on the word within the list. To select multiple options, hold down the CTRL key and click the options with your mouse.
- Multi select expanding bars: Multiple options can be ticked in a list. These will appear as blue bars on the form with a heading from the left and on the far right of the blue bar will be a cross (+) or a pair of up / down arrows.
 Click on either the cross or the up / down arrows to expand the bar into a list. At the top there will usually be options to Select All or Unselect All. Click one to automatically mark everything on the list, or the other to remove any tick marks present. To manually select options, click the boxes to place a tick mark next to the option you would like to include, or click again to remove it. These bars can be collapsed after selections have been made and will retain their information.
Once all of your options have been selected; click the Generate Report button at the bottom to generate the report.
Report Returns (i.e. the report generated based on the filter selections you made on the report form) will re-state the title of the report at the top of the page, the date generated, and a list of options and filters selected.
Beneath that will be either a table of statistics, or a list of information if a detailed report was selected.
Detailed reports often include orange hyperlinks where key information such as the Animal ID number, Person ID number, Receipt Number or License / Registration number is (depending on the type of report). Click the orange link to open a pop up to see the information.
If you make a change to this information, the pop up will close automatically once you click "Update" to save the information.
*Tip*: Clicking your brower's "refresh" button will reload your report so new information or any changes you made via hyperlinked pop ups can be seen.
For more information on finding and using reports, contact support@shelterbuddy.com.
Comments