
This administration lets you specify all the different license fees for each animal type in each issuing authority.
This feature may be labelled differently, depending on your local set up.
To get to this page, go into Administration > License(Registration) Administration > License (Registration) Fee Set Up.
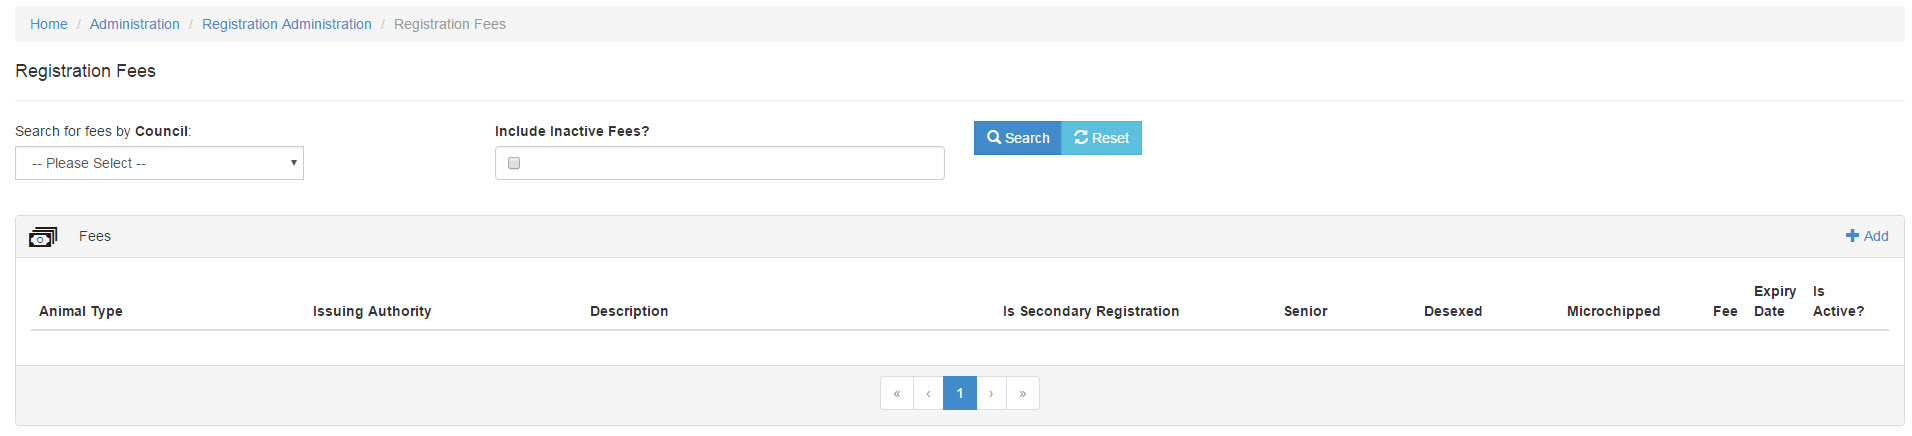
- Click the option for +Add

- On the resulting page, enter the details as follows:
- Description: enter the name of the Fee so it can be identified from a drop down later.
- Issuing Authority: Click the down arrow to select the issuing authority from the list.
- Animal Type: select an Animal Type from the drop down. Each animal type can have multiple fees for the license issuer to choose from so the same animal type can be used more than once.
- Senior Fee: If the fee is for Seniors only, select Yes, or if it excludes Seniors, select no. If no selection is made (N/A) the license will be available regardless of age. This option filters via the DOB recorded on the Person Details page.
- Desexed: This option filters via the spayed/neutered status drop down on the Animal Details page. If the animal must be spayed/neutered for the fee to apply, select yes. If the animal must be entire/unaltered for the fee to apply, select no. If the fee may apply regardless of the animal's spay/neuter status, make no selection (N/A)
- Microchipped: This option checks the Microchip number field on the Animal Details page. If the fee only applies if the animal is chipped, select yes. If the fee only applies if the animal has no chip, select no. If the fee applies regardless, make no selection (N/A).
- Selecting NO options to the three above here means the license will be available to any combination.
- Fee: Enter the fee amount $0.00
- Expiration: Select an option from the drop down and depending on your choices, additional options may appear:
- Manually Entered: If the expiry date is manually entered, no additional options will appear
- Issue Date +: If the license always expires a set amount of time after the issue date, select how many months after the issue date it is to expire in the second option.
- Specific Day Each Year: If the license always expires on a certain date regardless of when it was issued, select any number of date and month here. You should also set a "cut-off date", so if licenses are added after that date they will be valid until the following year rather than be short-dated; e.g. if the license was issued just a few days before the usual expiry date.
- Note: the expiry date can always be manually changed on the license form.
- Lifetime: This indicates the license is for the lifetime of the animal and has no expiry date option.
- Secondary Registration: Nominate if this is a Secondary License. NOTE: secondary license numbers are not recorded in the license number box on the Animal Details page. This might be used for lesser licenses, e.g. for a registered yard dog.
- Next Fee: Set the Next Fee by selecting an option from the drop down (this will only populate if at least one other license has already been entered.) Once the current license expires, this nominates which fee should be included in the renewal letter. Leave blank if the system should determine based on animal status (microchipped etc.).
- Tip: click on the question mark icon for help on what this item does:

- Dangerous Animal Categories: Click the down arrow to select from the list.
- Is Active: Will default to being ticked. To deactivate (hide) a licence/registration, untick this box.
- Click Save to add this license type. OR
- Click Save Then Set Accounts to add this license type and immediately assign account codes and allocate how much of the total fee belongs with each account. OR
- Click Save And Add Another to add this license and relaunch the new fee page to add a different license. OR
- Click Save and List This Issuers Fees if you wish to save your changes and then view a list of only those items associated with the Issuing Authority selected for this license. OR
- Click Cancel to disregard your changes and return to the Registration Fees page.

Once the fee has been added, it will display as a line entry beneath the Heading filters. 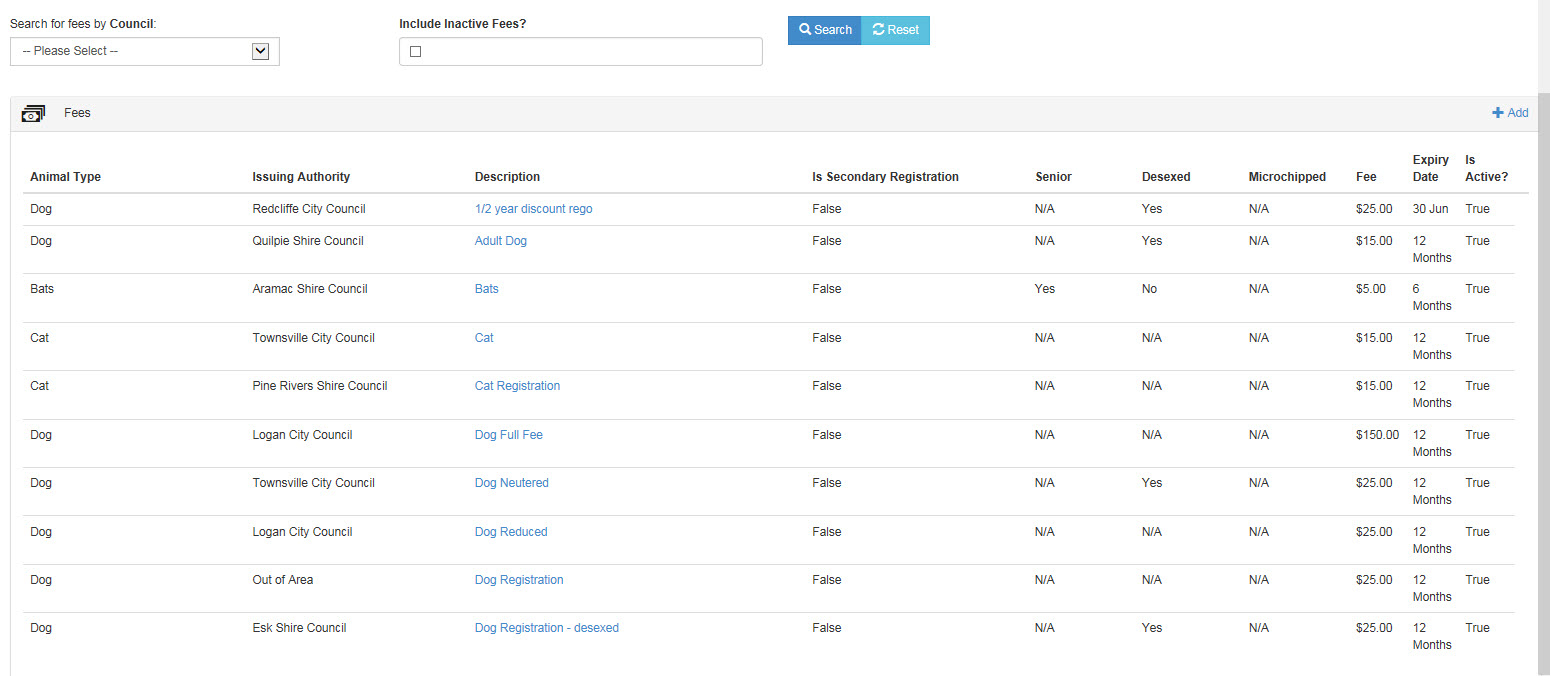
You can filter the list using the Search for Fees by Council drop down in the top right of the page, then click the Search button:

You can use the Reset button to return to the full list at any point. You may also use the Include Inactive Fees? option to include fees that have been de-activated.
To Edit an existing fee, click on the fee Description, and when the page displays, click the blue Edit button. From here you can change any of the existing settings, add or remove accounts.
- To Add an account, click the +Add button
- Enter at least one character in the box marked Account and the system will auto-find matching accounts. Select the account you would like.
- Click the drop down arrow to associate the account code with a specific Region.
- Click the Add button to save and close.
- Click Remove to remove the account selection at any time.
- Click Save or Save And List This Issuers Fees to save your changes.
Comments